In WordPress 5.0, the traditional content editor was replaced by a new block editor called Gutenberg editor. This new content editor has more functionality than the classic editor. It is a new way to edit your content, and we’ll teach you exactly how to use it.
Using the Gutenberg Editor:
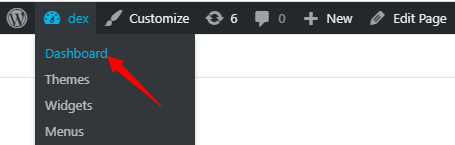
- Open the Dashboard from the top left on your website.
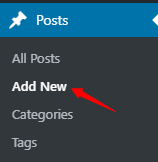
- On the left sidebar, hover above Posts and click on Add New.
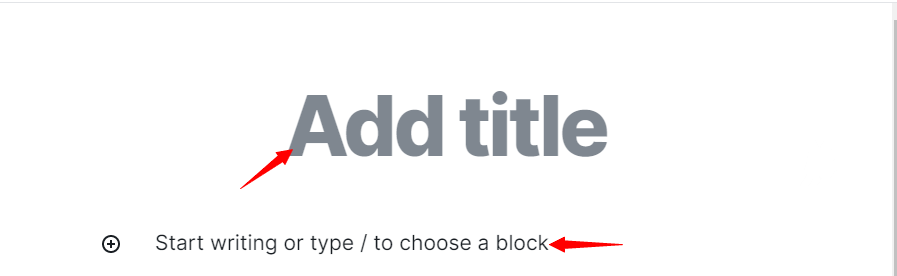
- On the next page, you’ll see two blocks. The first, a title block where you can insert the title of your post. Below that another paragraph block where you can start writing.
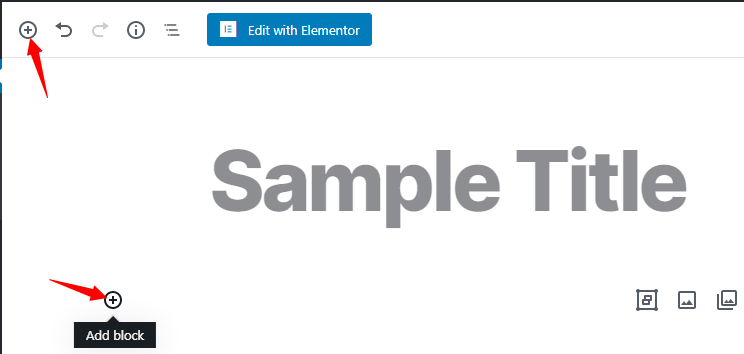
- Now if you wish to add a new block, you can click on the plus sign on the top left, or click on the plus sign beside the paragraph block.
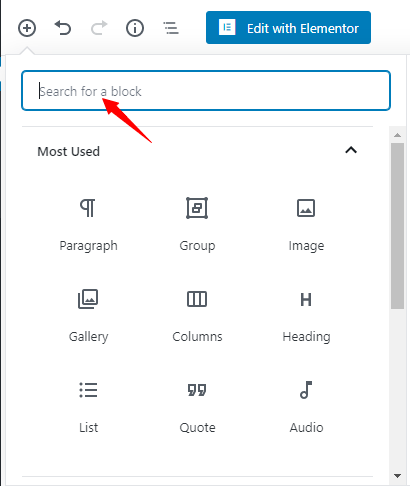
- After clicking on the add block button, a menu will appear showing you the most used blocks. You can select any of them by clicking on them, or you can search a specific block from the search bar.
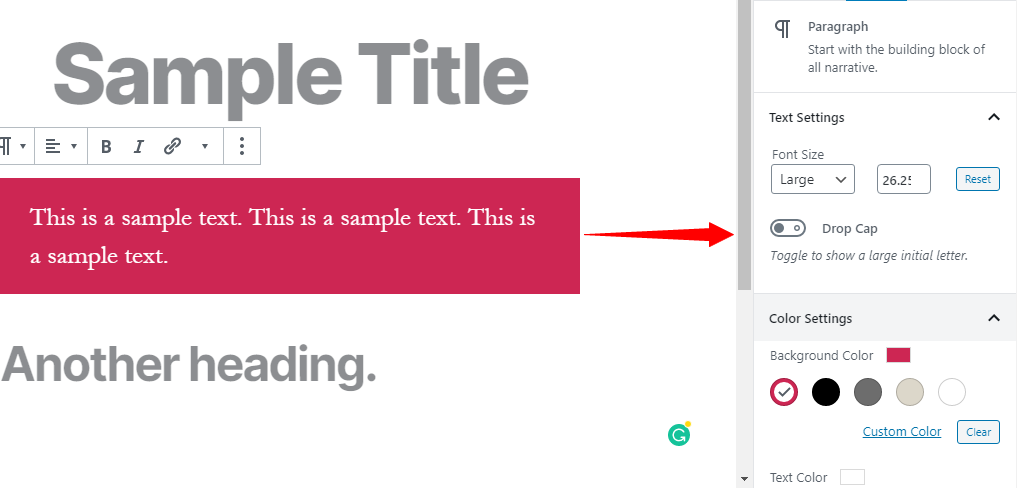
- Now you just type your text, and automatically, a toolbar appears on top. You can use it for text alignment, italic, bold, insert a link, and strike-through.

- Each block will have separate settings on the right side. For this paragraph block, you can tweak text size, background color, text color, etc.
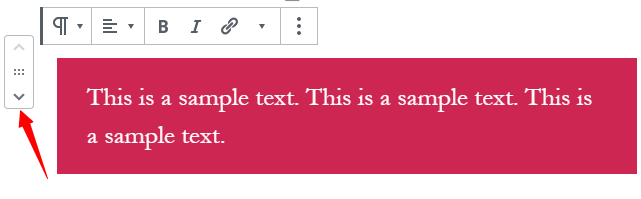
- You can also move a specific block up or down by clicking on the arrowheads.
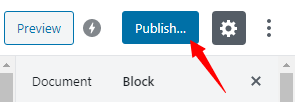
- After finalizing your blocks, click on Publish on the top right to publish your post.
Reusing blocks in Gutenberg:
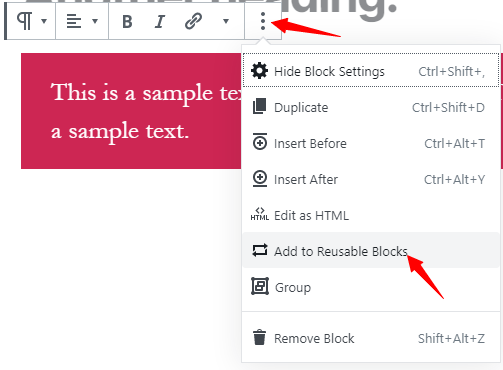
If there is a block that you are regularly using, then you can save it as a reusable block, and use it whenever you want.
- Click on your block. On the toolbar, click on the three dots, and a list will dropdown. Next, click on Add to Reusable Blocks.
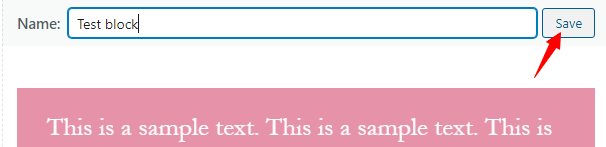
- Enter the name of your block and click on Save.
- Now, if you want to reuse your saved block. Click on add new block button, a menu will appear. Scroll down, find Reusable, and click on it. Your saved block by the saved name will appear. Finally, click on it to add it.

Managing options in Gutenberg Editor:
On the right side you will find the Document tab. Each post contains metadata. This can be configured from the menu. It includes categories, tags, featured image, post attributes and more.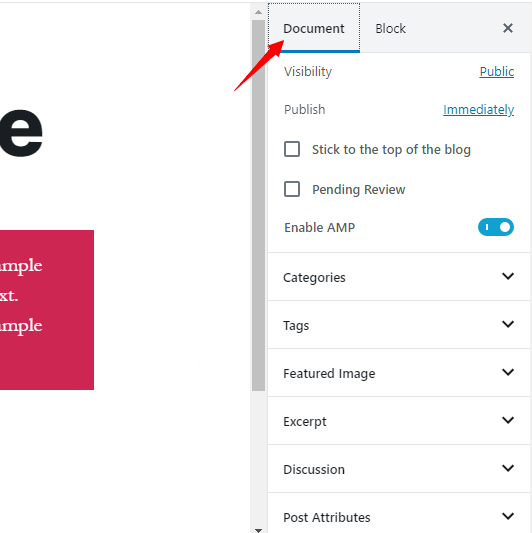
Adding common blocks to the editor:
As compared to the traditional editor, the Gutenberg allows you to do much more and much faster.
Below are a few examples:
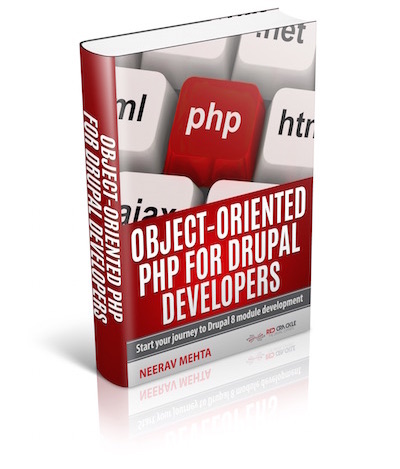
- 1. Adding an image to the Gutenberg Editor:
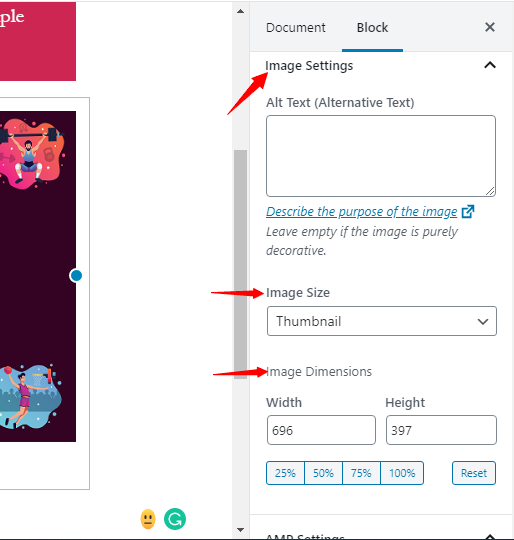
- There is an image block preloaded in the new editor. Simply add the image block, and then upload your desired image or select from the media library. You can also drag and drop a picture from your computer onto the image block.
- After uploading your image, on the right side, you’ll be able to see additional settings, under Block. Here you can add alternative text, resize the image, etc.
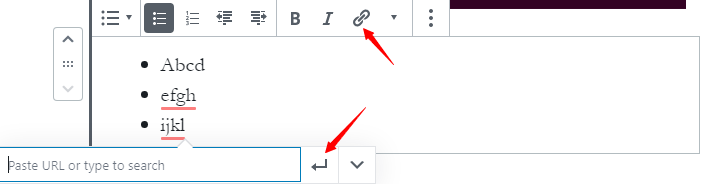
- 2. Adding a link in the Gutenberg Block:
- Many blocks come with the option to add a link to them. Here we are adding a link to the listed block. You can also insert a link using shortcut key CTRL + K.
- First, we click on the link icon, enter the URL and click on the Apply button.
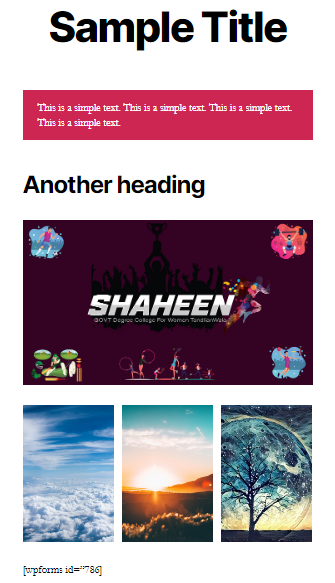
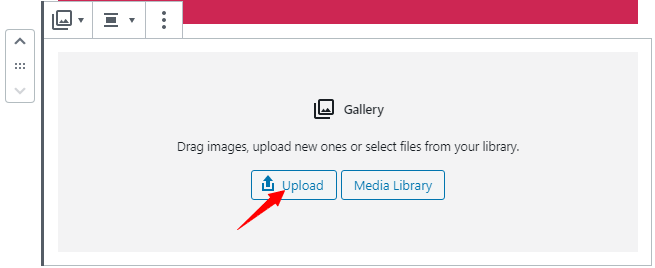
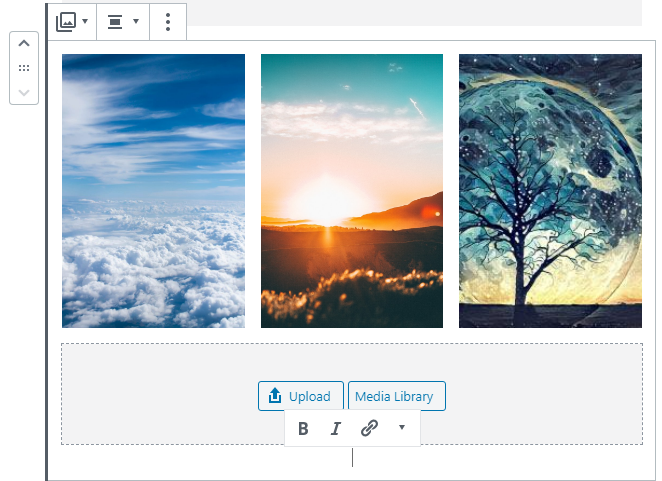
- 3. Adding an Image Gallery Block:
- The gallery block is similar to the image block. You can upload numerous images or simply drag and drop them onto the block.
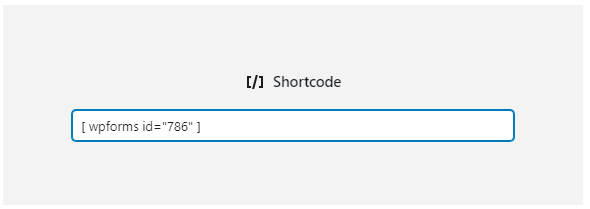
- 4. Adding shortcodes in Gutenberg:
- You can add shortcodes similar to the old editor. From the add block, you can choose a paragraph block or the shortcode block to write your code.