Follow these easy steps to add widgets on your WordPress site swiftly:
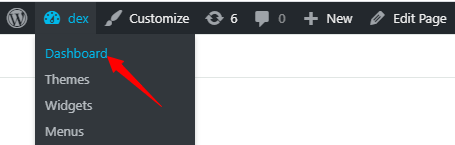
- Open the Dashboard from the top left on your website.
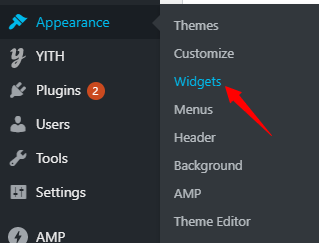
- Navigate to the left side, scroll down and hover the cursor above Appearance and click on Widgets.
- From this page, you can see the list of Available Widgets on the left side. On the right side are the places where you can place your widgets. To add a widget, you need to simply drag any widget from the left side and drop it on the right side where you want to place it. For instance, you can drag the Audio widget and drop in on the Main Sidebar.
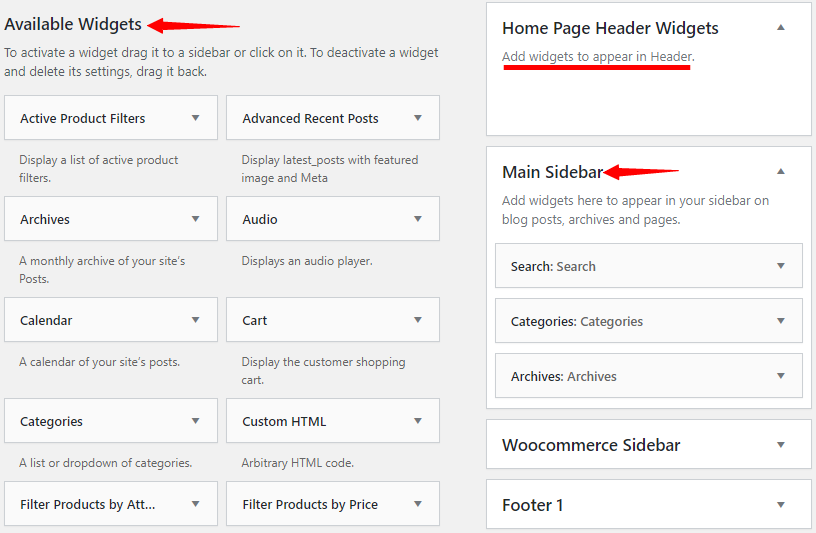
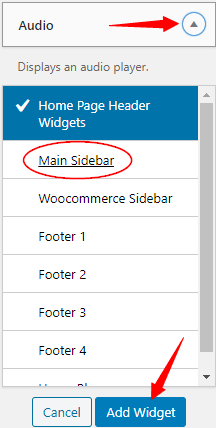
- There is another way to add a widget. Click on the triangle, next to the name of the widget you want to add. A drop-down list will appear of the places where it can be inserted. Select the place where you want to add your widget. In my case, the Main Sidebar. Finally, click on Add Widget.
- After you add your widget, you’ll be able to see it on the right side. The next step is to name your widget and set it up. In my example, I used an audio widget, so I will have to upload an audio. The final step is to click on Save, and you have successfully added a widget!

Here is the saved audio widget:
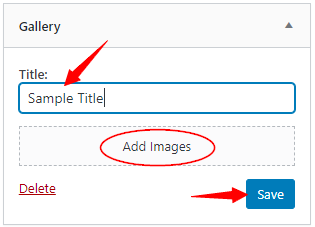
Another Example on how to use a widget:
Gallery is another widget. In order to set it up you need to enter any title. Next upload any image to it and finally click on Save.