This is tutorial #6 in the Drupal Commerce tutorial series. In the previous article, you learned how to add a shopping cart to your Drupal Commerce site. In this article, you will learn how to configure your site's checkout process.
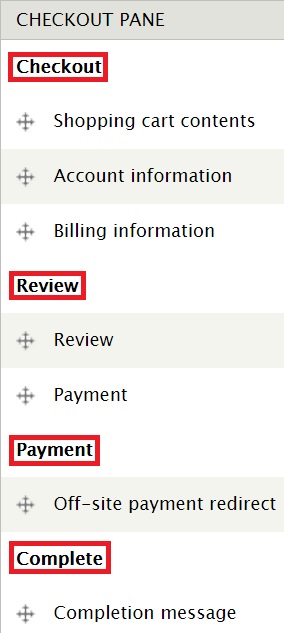
We will be enabling a module known as "Commerce Checkout Pages". This module provides you with extra functionality to configure the checkout process for your site. The default installation of Drupal Commerce will not allow you to create new pages. In this post, we will add two new pages, "Confirm your cart" and "Fill in your address details", to the checkout process after enabling the module. By the end of this post, these new pages will look as below:

Let’s get started. This article is divided into two parts – before and after installing this module.
Before installing Commerce Checkout Pages:
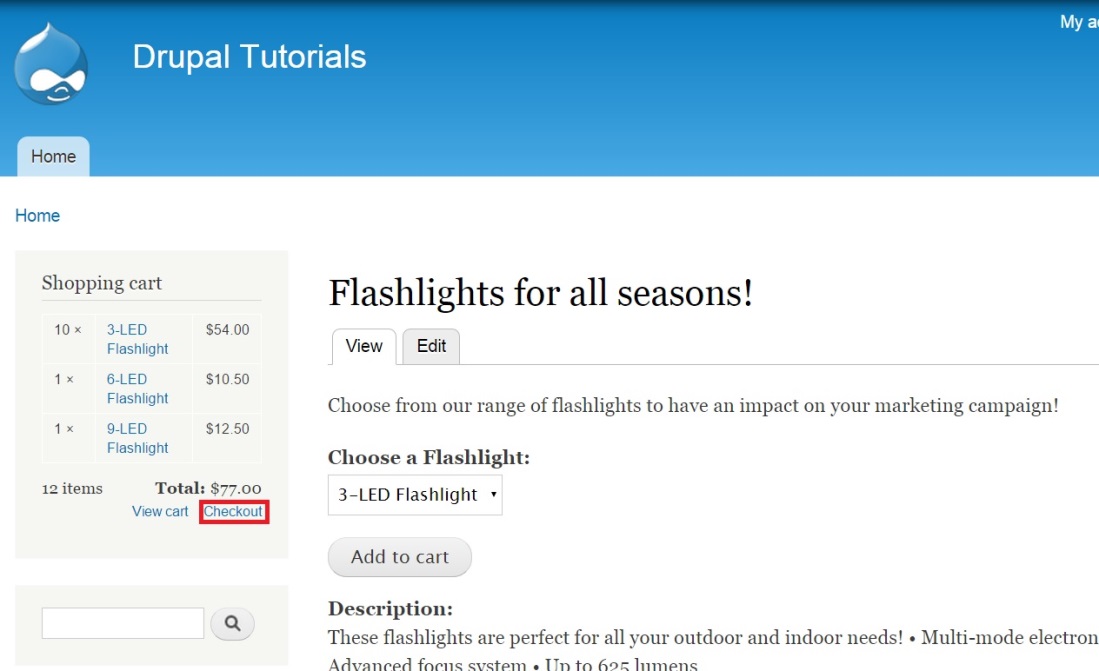
Before we proceed to install the module, I want you to have a look at how the Checkout process appears for a default installation of Drupal Commerce. Look at my screen from the previous article. Click “Checkout”:
You will get the following Checkout screen. Notice that “Shopping cart contents” and “Billing information” appear on the same screen.
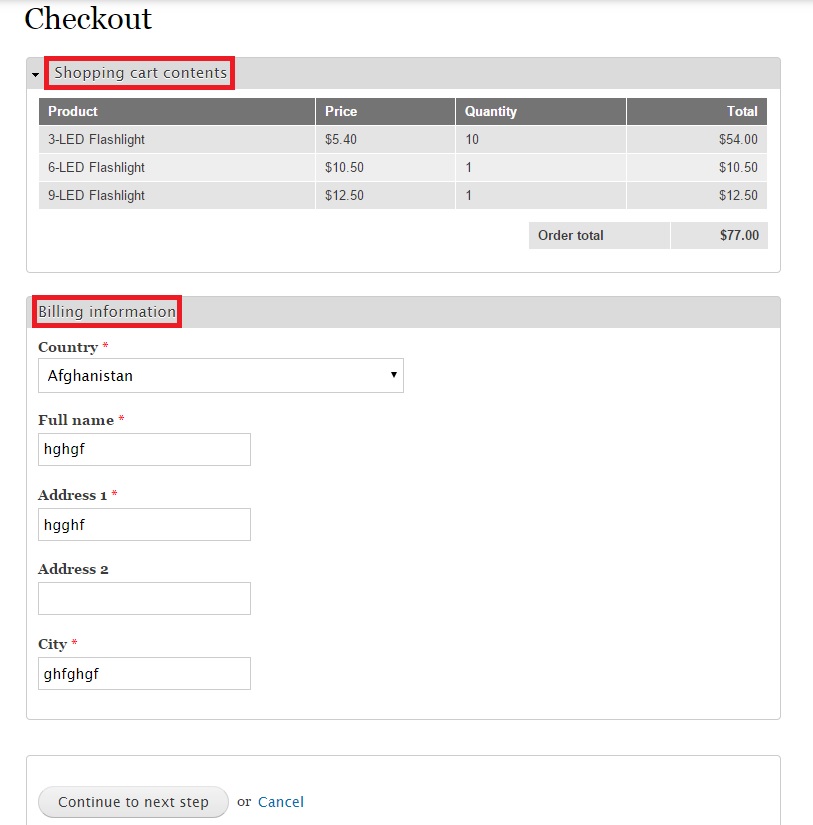
Fill in some random values as part of your Billing information. Click “Continue to next step”.
You will get the following Review order screen. Notice how "Shopping cart contents", "Account information", "Billing information" and "Payment" details are summarized for the user's benefit.
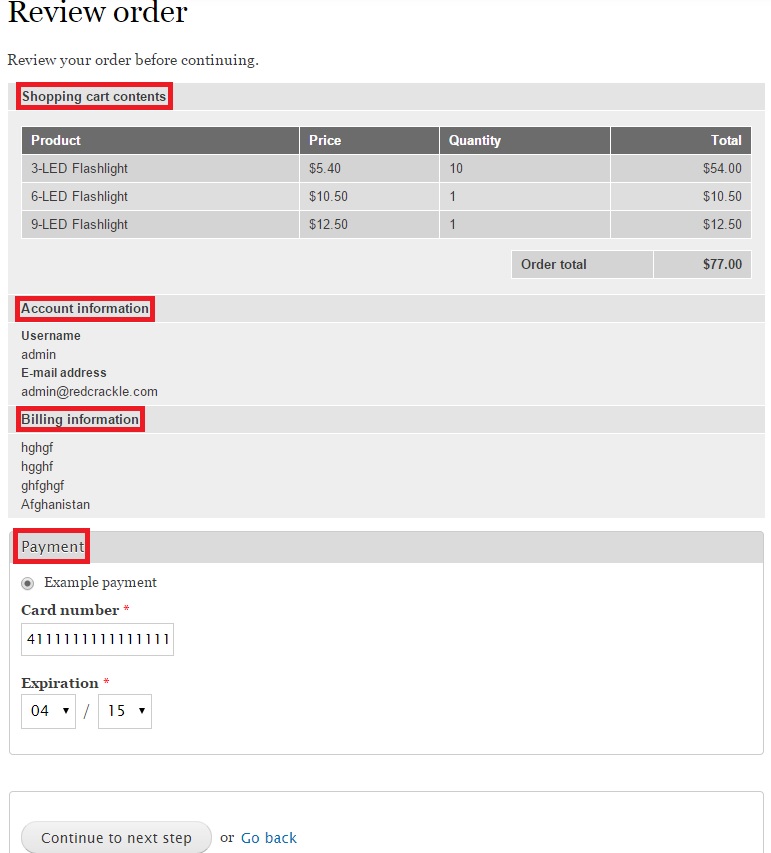
Click “Continue to next step” to complete the Checkout process. You will get the following screen:
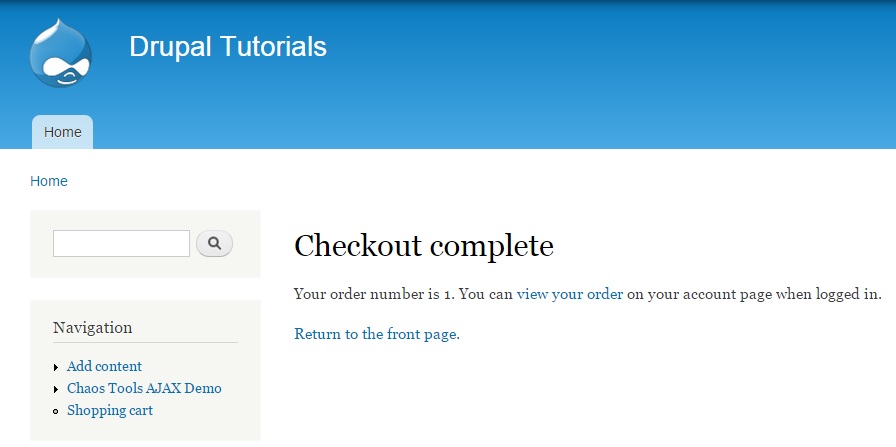
Let us now explore the Checkout options that come by default with Drupal Commerce. They are “Checkout”, “Review”, “Payment” and “Complete”.
To access these settings, you will have to first click on the “Store” button on the top-level menu.

Click "Configuration" and then “Checkout settings”:
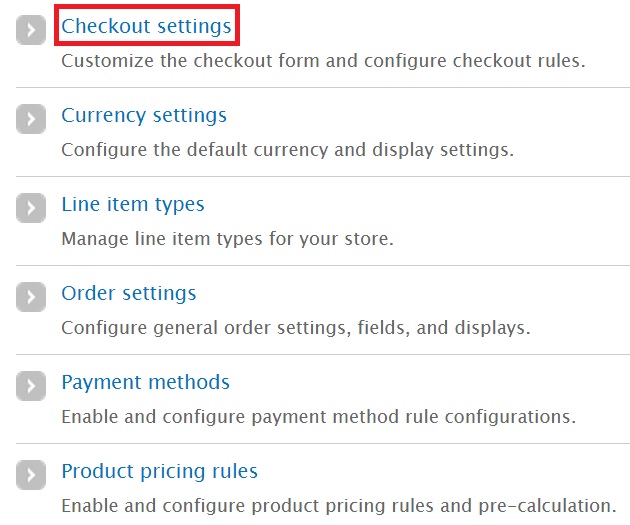
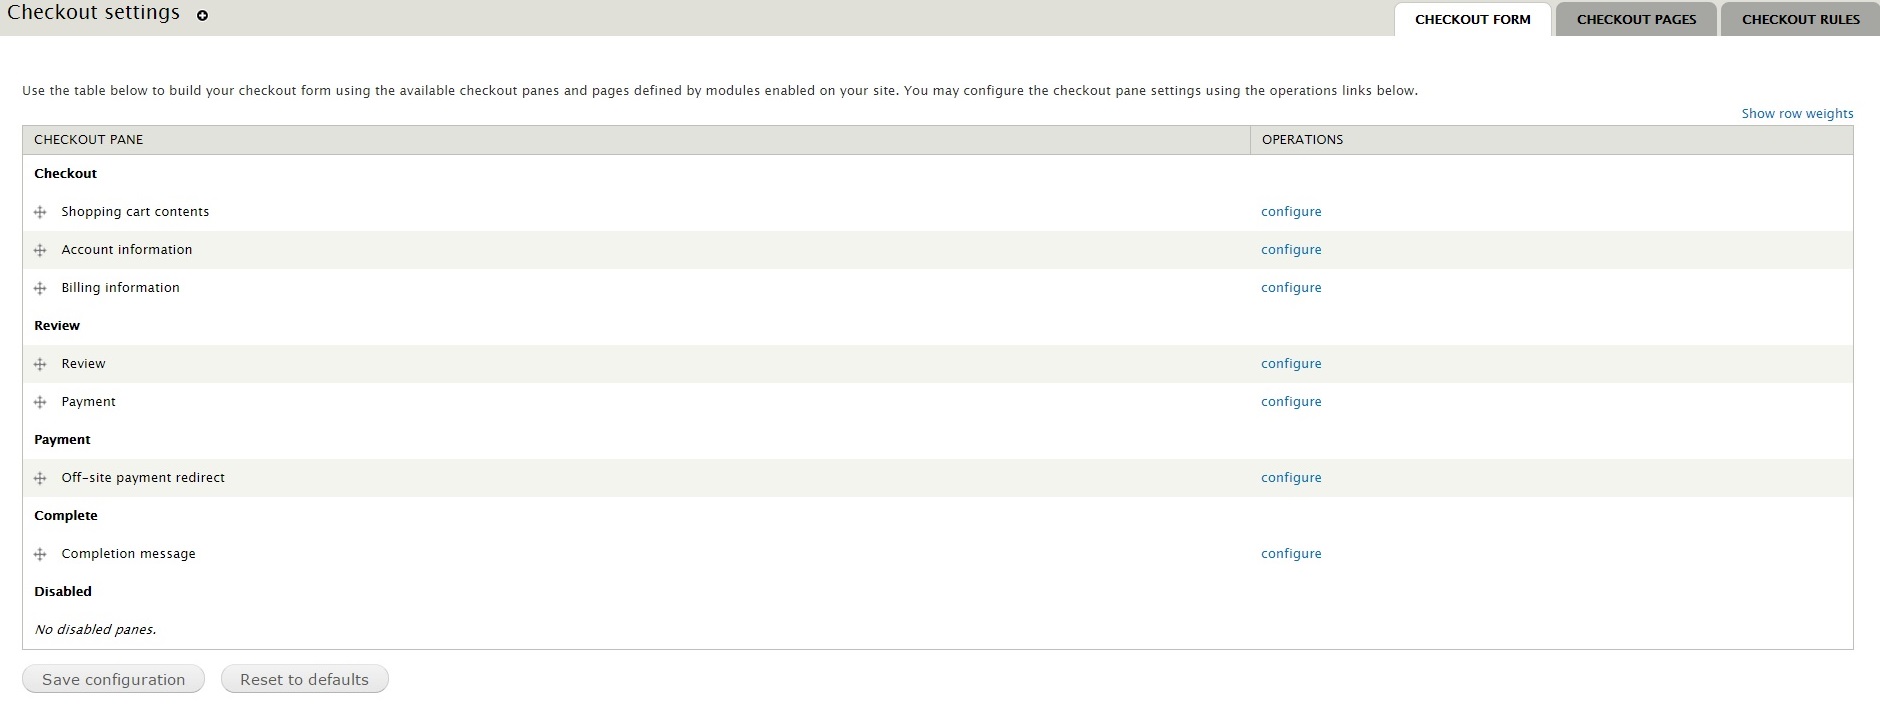
You will get the following screen. Clicking on the “configure” link on the right of “Shopping cart contents”:
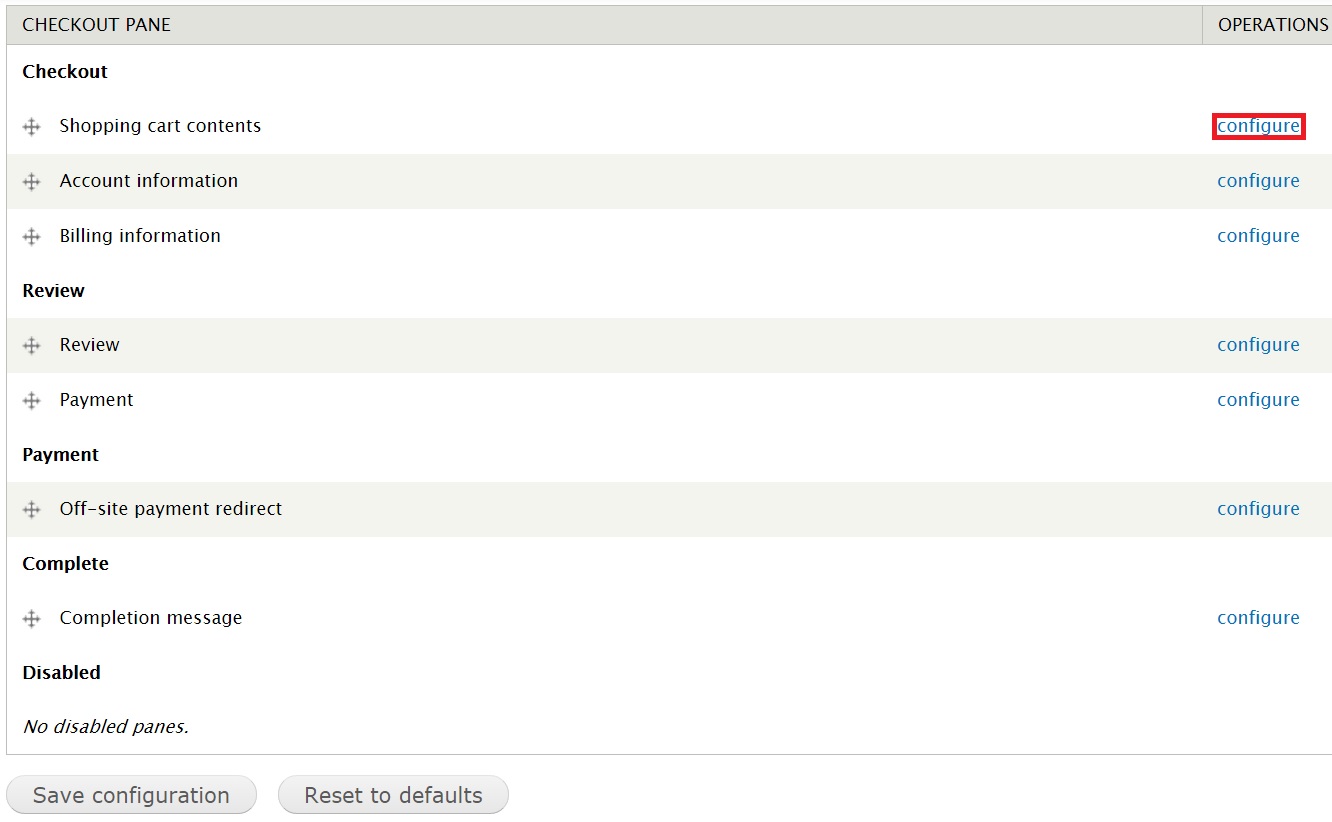
You will get the following screen:
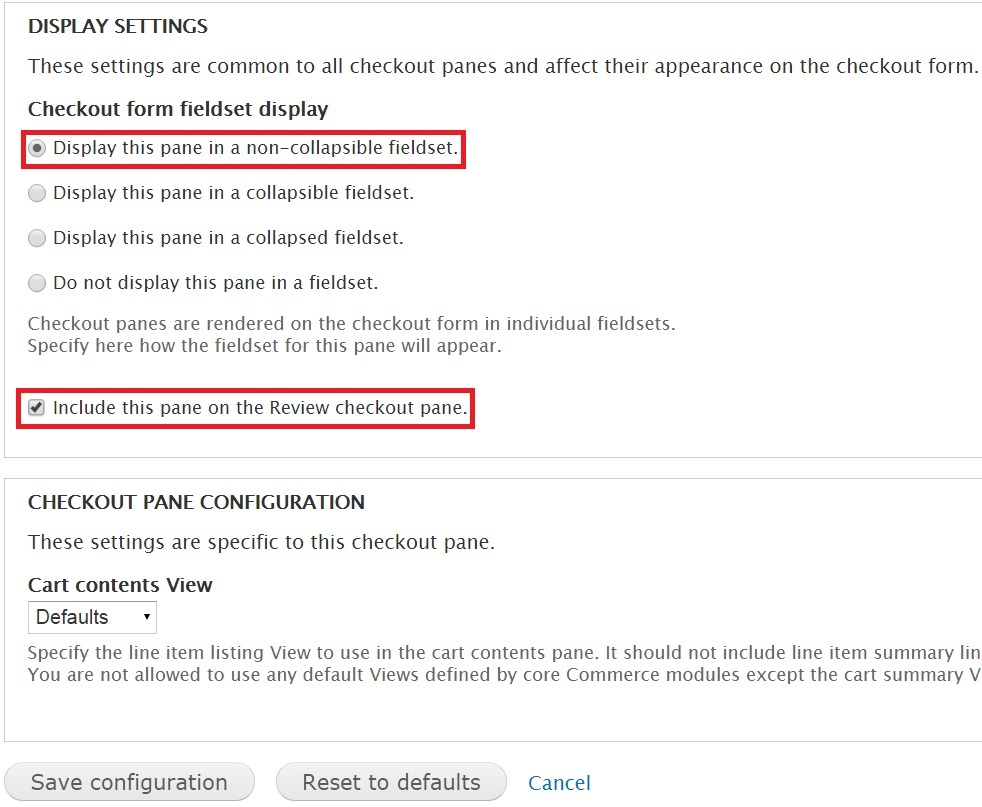
Where the options under “Display Settings” allow you to indicate how you want the Checkout panel highlighted.
Here are the options:
- Display this pane in a non-collapsible fieldset: This default option will display the checkout pane completely, with no option for the user to collapse it.
- Display this pane in a collapsible fieldset: This option provides the user with the option to collapse the checkout box.
- Display this pane in a collapsed fieldset: This option ensures that the checkout pane remains hidden from the user’s view till he clicks to expand it.
- Do not display this pane in a fieldset: This option dissociates the checkout pane from the <fieldset> element, allowing themers to personalize their Drupal Commerce stores.
Clicking on "configure" for Account information, Billing information, Review, Payment and so on will provide you with similar Display settings to the one showed above.
Click "Save configuration" at the bottom of the page. Your configuration has been saved:
You can drag and drop the values above to reposition them but you can’t add new pages without the module. On the top-right of this very page, you will find two tabs. These will come in handy later.

First, install the module.
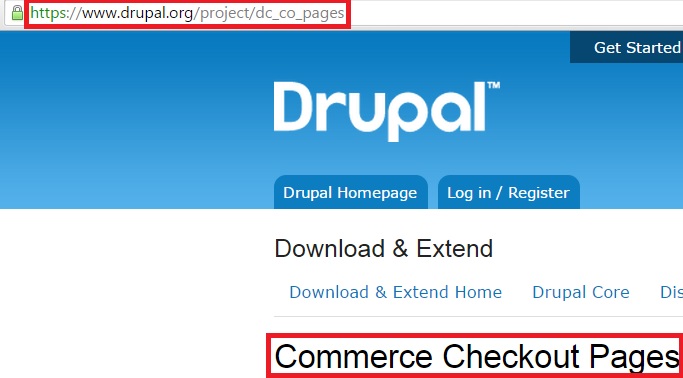
Type drupal.org/project/dc_co_pages on your browser window to download and enable the module "Commerce Checkout Pages".
After installing the Commerce Checkout Pages module, type drupal.org/project/dc_co_pages on your browser window to download and enable the module "Commerce Checkout Pages".
Download the latest tar.gz file to your Modules folder.
Enable the module by going to “Administration” -> “Modules” and searching for “Checkout pages”:
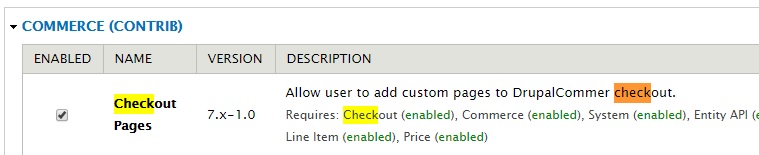
Click “Save configuration” at the bottom of the page.
Let's visit "Checkout Settings" again like we did earlier in this article. Go to “Store” -> “Configuration” -> “Checkout settings”.
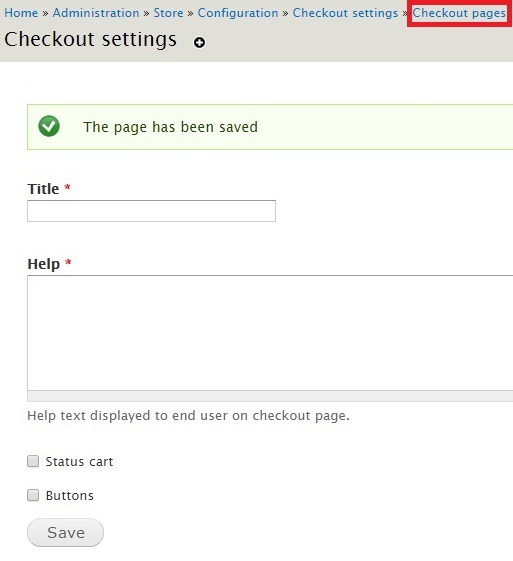
The following screen appears:
You probably won’t notice anything changed at first glance. But a closer look will reveal an extra tab “CHECKOUT PAGES” on the top-right. This is where you will be able to add new pages that can manipulate the checkout process:

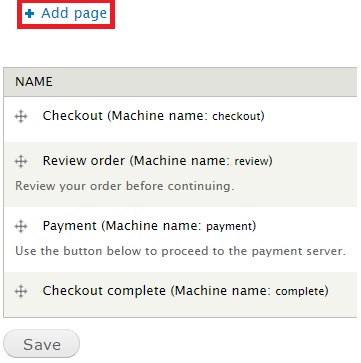
Click “CHECKOUT PAGES” to configure the Checkout pages better. You will get the following screen. Click “Add page” to enter pages of your choice.
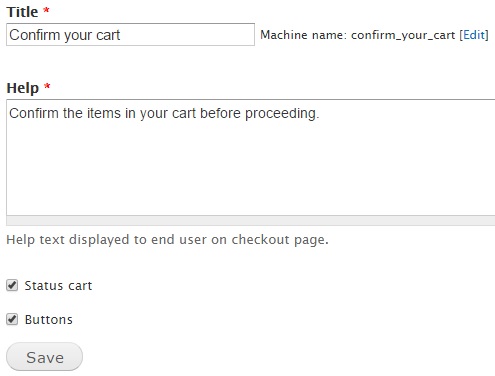
Give a new page title. And add a custom message as shown below. I want a page dedicated to displaying the items added to the cart. Tick the boxes against Status cart and Buttons as well. Ticking against Status cart will ensure that the new page becomes a part of the checkout sequence. Ticking against Buttons will ensure that buttons such as Next and Previous appear, allowing shoppers to navigate forth and back.
Click “Save”.
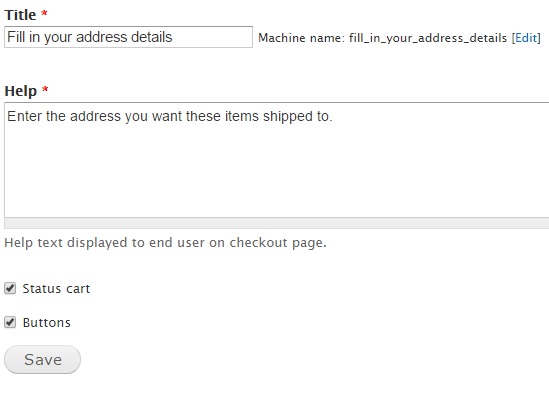
You will be able to add another page. I want to create a page that’s dedicated to the user entering his address. I have provided details as below.
Click “Checkout pages” in the breadcrumb path:
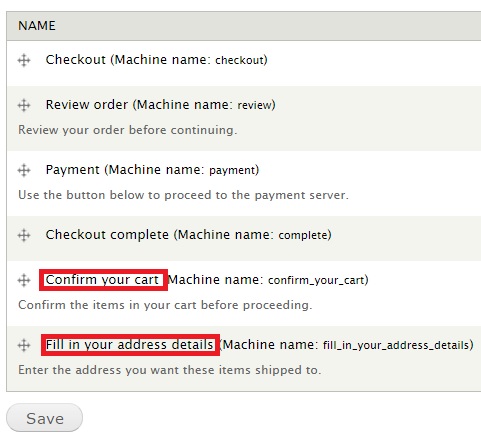
You will be taken to the following page. Notice the newly created pages at the bottom:
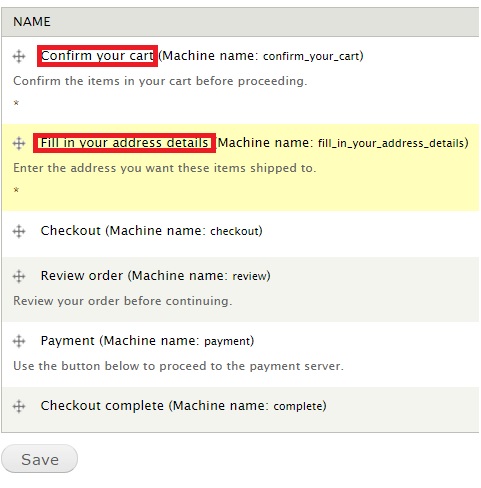
Drag them to the very top as shown below. Click “Save”.
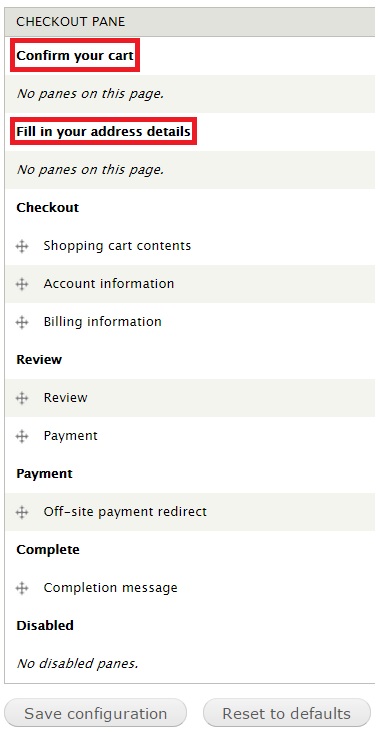
Click "CHECKOUT FORM". This is how the page will look. Your newly added pages will be at the top but without any panes:
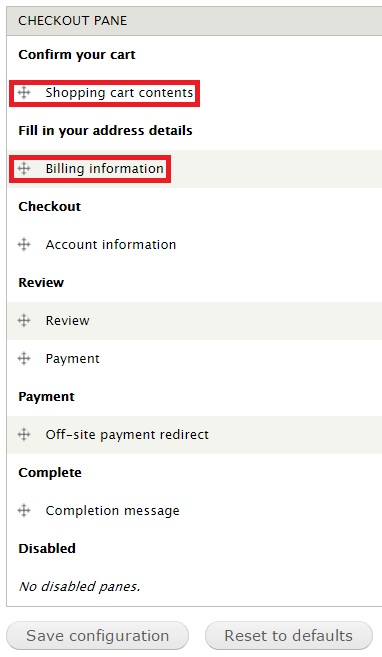
Drag Shopping cart contents till it’s placed under “Confirm your cart”. Drag Billing information till it is placed under “Fill in your address details”.
Let's now go through the Checkout process again. Go to the homepage. I have added a product to my cart. Let's click on “Checkout”.
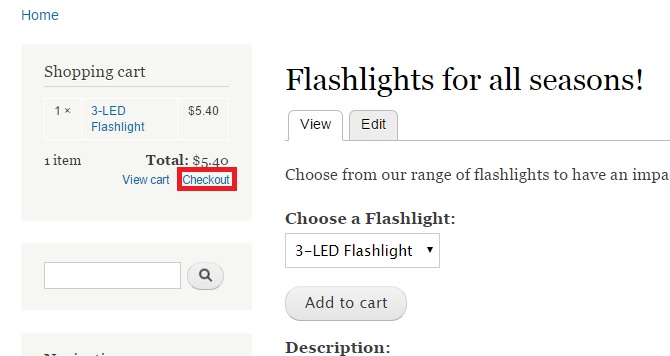
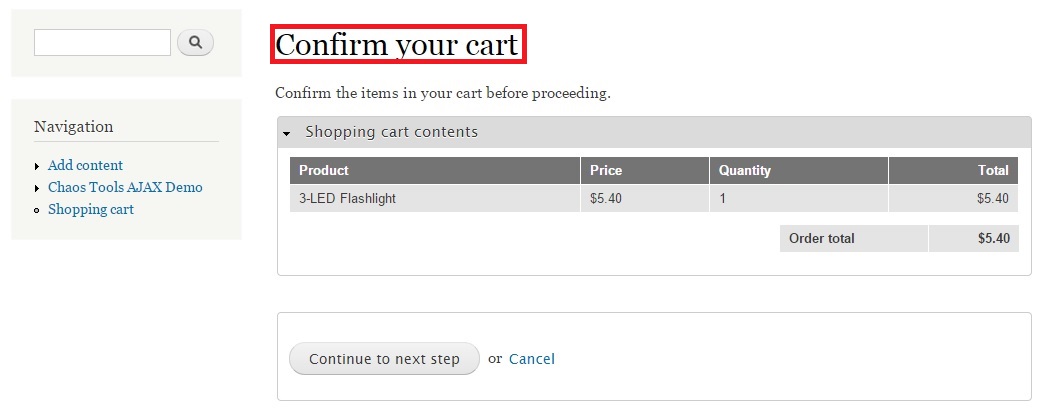
You will now be taken to the "Confirm your cart" page newly created by you.
Click "Continue to next step".
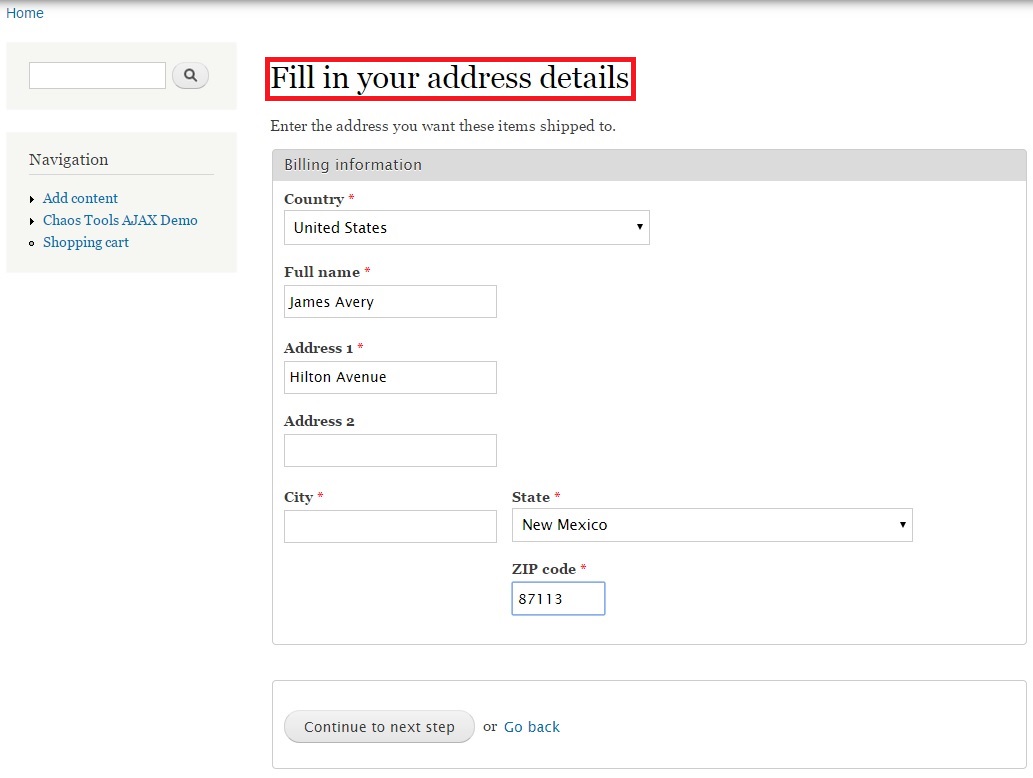
You will now be taken to the 2nd page newly created by you. Fill in a random name and address:

The remaining steps in the checkout process will proceed as highlighted by you in the CHECKOUT PANE, i.e. Review, Payment and Complete.