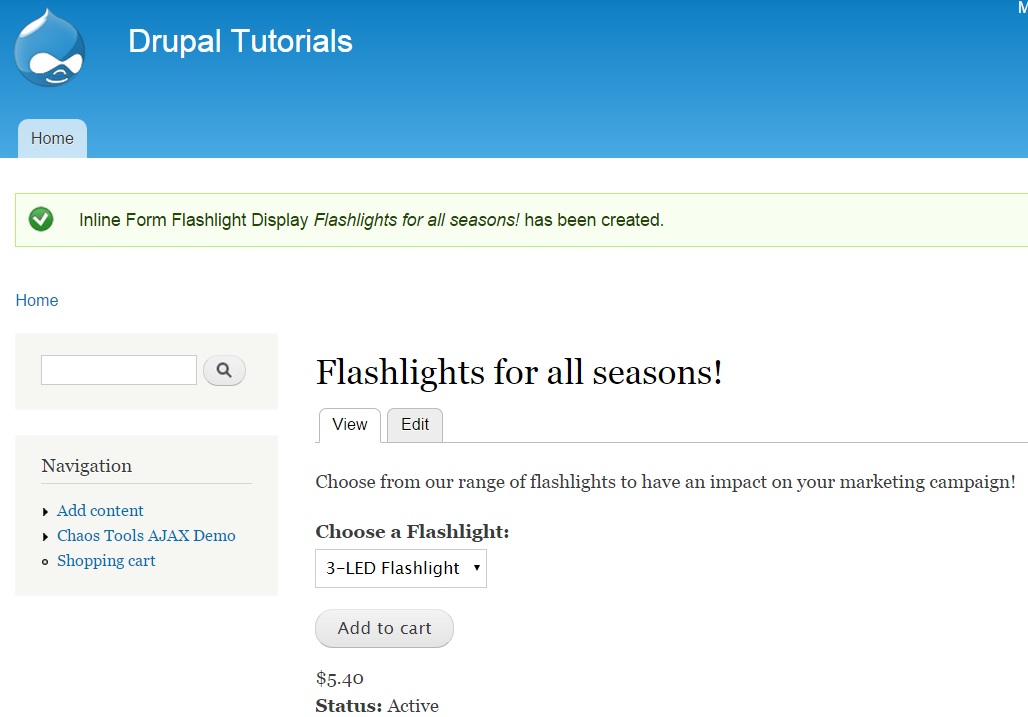
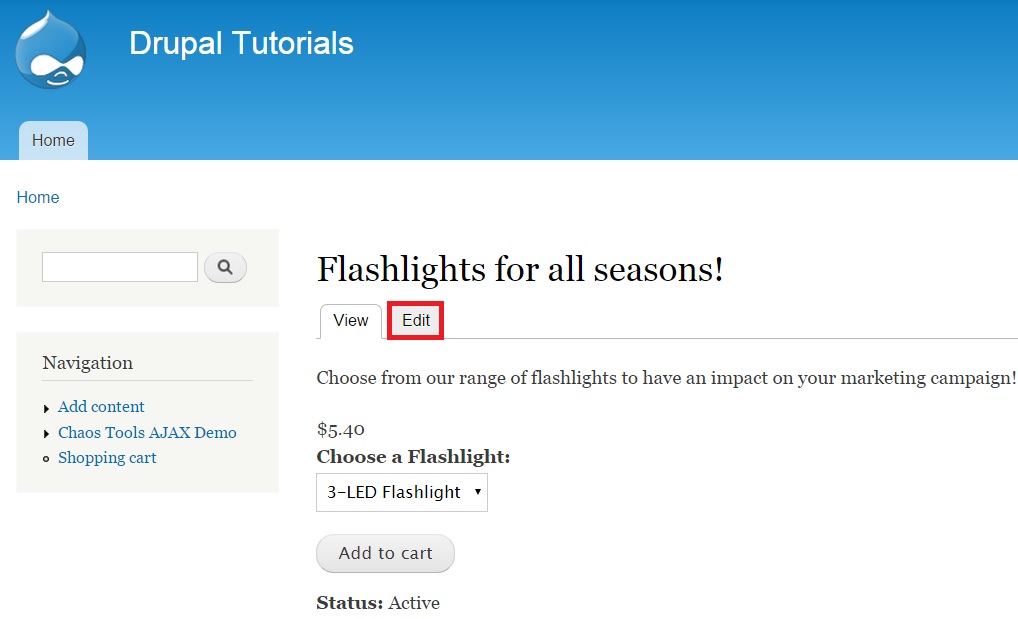
This is tutorial #3 in the Drupal Commerce tutorial series. In the previous article, we showed you how to add multiple SKUs for a product, one for each product variation. If you haven't read it, please go and read it now, or get the free eBook on Drupal Commerce 101 from the right sidebar (below the content if you are viewing in mobile). We used the Inline Entity Form module to add products and product displays to your online store. The screenshot below shows how our product page looked at the end of the previous article:
The purpose of this article is to add fields generally associated with products in an online store. We will add a Description and Image for the flashlight products. These fields can be added by accessing “Store” -> “Products” -> “PRODUCT TYPES”. We will explore the steps in detail in this article. We will also be adding comments and ratings for the products. This is a screenshot of what we are seeking to achieve:

To get started, you will have to download and unzip the following modules in sites/all/modules folder:
- Voting API (https://www.drupal.org/project/votingapi)
- Fivestar (https://www.drupal.org/project/fivestar)
Let’s enable these modules. Click “Modules” in the menu and search for “Fivestar” and “Voting API”. Enable them:

Let's now configure the product type to add new fields.
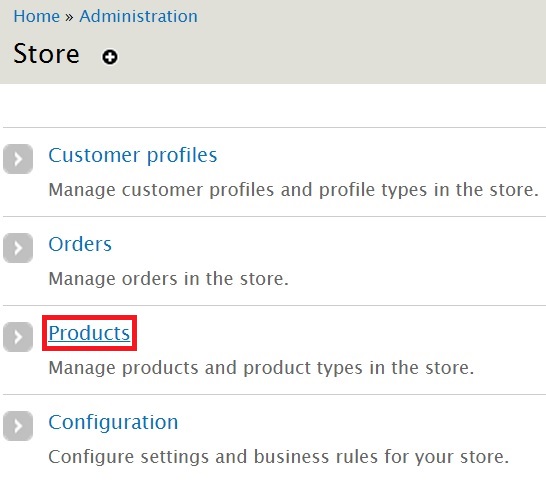
Click “Store” on the top-level menu. Then click “Products”:
Click "PRODUCT TYPES" on the top-right corner:

In the new page, you have the option to edit the existing product type or create a new one. In the earlier article, we used the basic product type provided by Drupal. We will continue using the default product type here. Click “manage fields”:

In the new page, you will be able to view the existing fields. They are “Product SKU”, “Title”, “Price” and “Status”:
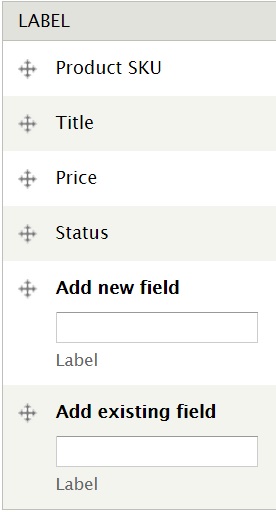
Let us add “Description” and “Image” fields for each product. Type in “Description” under Add new field. Choose “Long text” under FIELD TYPE. "Text area (multiple rows)" will be automatically selected under WIDGET. Click "Save".

You will get the following screen. Click “Save field settings”.

You can add the Image field by using “Add new field” or “Add existing field”. I am going to use the existing field:

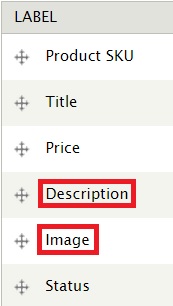
Click "Save" at the bottom of the screen. Rearrange the order of the fields to reflect the priority in which you want these fields to appear. Click and drag the ‘plus’ sign to the left of each field to arrange according to your priority. To demonstrate, I have taken the newly created fields above the Status field.
These newly added fields will now be an integral part of the product display content type added by you. Let’s add these fields to the display. Go to the homepage and click "Edit" for the product added by you:
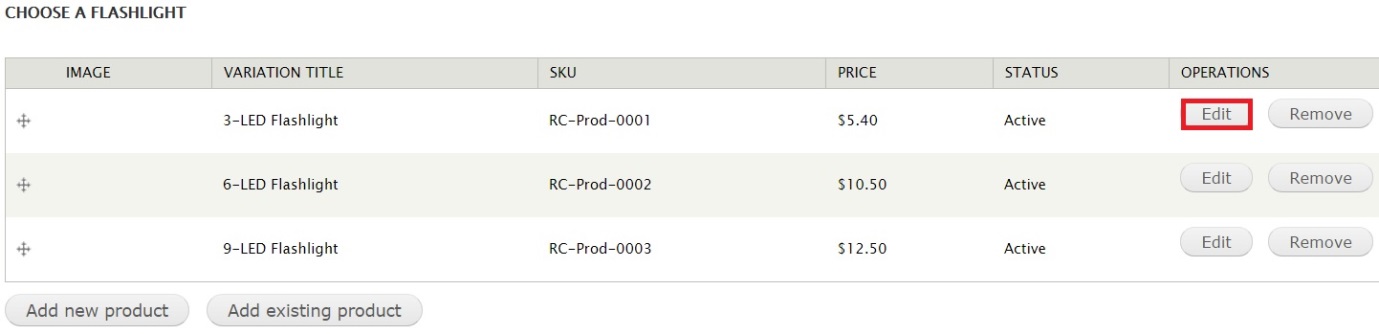
Click "Edit" for 3-LED Flashlight:
Add a description and image for 3-LED Flashlight. Click "Update product" as shown in the screenshot below:

Add similar descriptions and images for other products in your inventory. In my case, the products are 6-LED Flashlight and 9-LED Flashlight. Further below, click the "Comment settings" tab on the left. Ensure that "Open" is selected so that users can add their comments describing their experiences while buying the product. Click "Save" at the bottom of the screen:

I am going to configure the comments to ensure anonymous users can add their feedback as well. On the top-level menu, click "People":

On the top-right, click "PERMISSIONS":

Search for "Comment". Tick all the boxes that come under it for "ANONYMOUS USER":

Search for "Fivestar". Tick the box that comes under it for "ANONYMOUS USER" and “AUTHENTICATED USER”:

Let’s now configure the content type associated with displaying the Flashlight products. In my case, the content type is “Inline Form Flashlight Display”. Click "Structure" on the top-level menu:

Click "manage fields" next to "Inline Form Flashlight Display":

On the top-right, click “COMMENT FIELDS”:

Create a new field with the "FIELD TYPE" value as "Fivestar Rating". Provide a name for your rating field. I have used "Rate this product". For the "WIDGET" dropdown, choose the value "Stars (rated while editing):

Save your settings and you will be taken to a new screen as shown in the screen below:
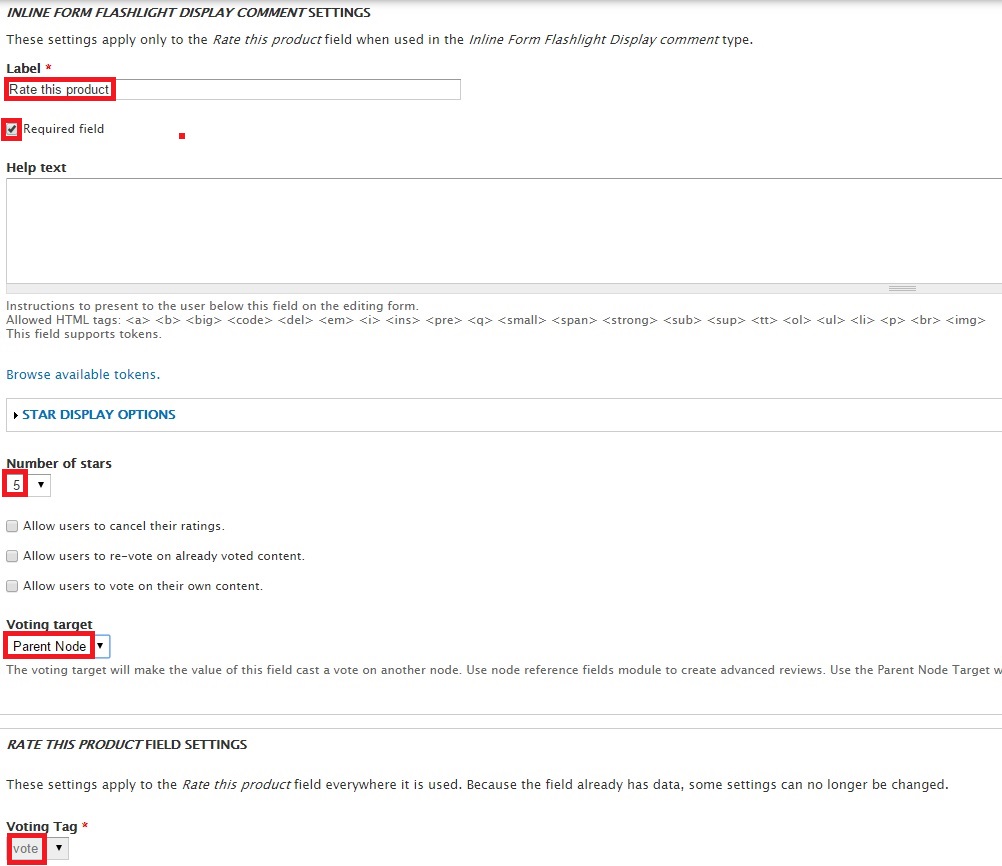
Fill in the fields. I have ticked the box against “Required field”. This means that it is mandatory to give a rating.
In the “Number of stars” dropdown, I have used the default value.
The most important field on this page is the “Voting target” dropdown. It ensures that the rating field is displayed within the comment section.
Choose “Parent Node” as a value for this field.
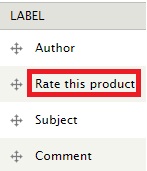
Save your settings. In the main page, drag the rating field above “Subject”:
Let’s now visit a product on the site. This is how it looks:
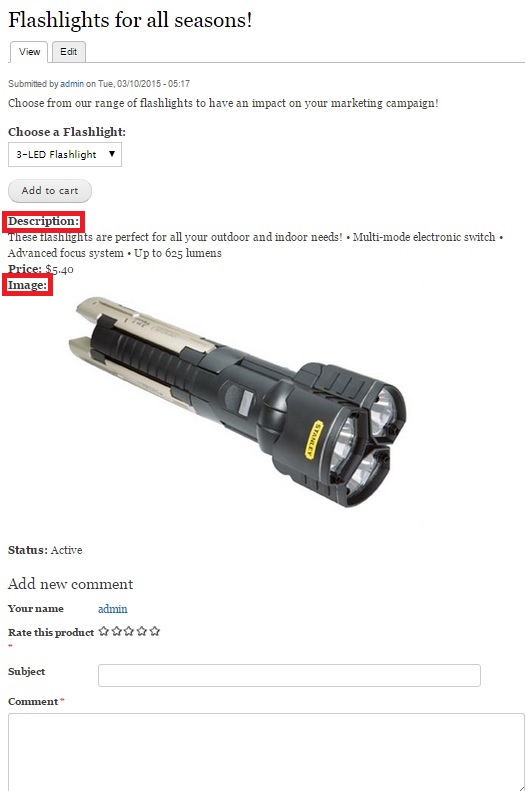
You will notice that the new fields have been added. Also notice the rating and comment box at the bottom. I am going to type in a comment and provide a rating. First, I will log off as admin:

Here I am typing in a comment and choosing a rating as an anonymous user:
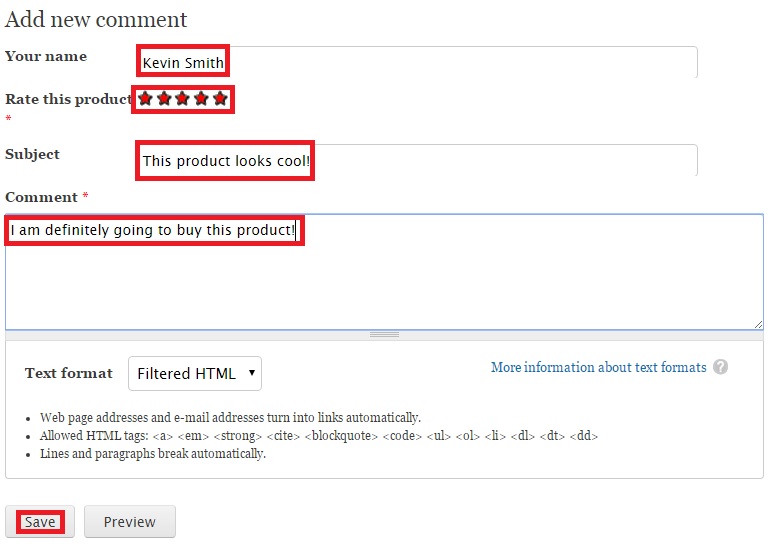
Click “Save” and this is how the product page will look:

You have now configured your product’s display page to showcase more fields.
Next article: Managing inventory