In this article, we will create a basic view to display a Drupal calendar with events.
By the end of this article, you will be able to configure a basic Drupal event calendar for your website that looks like this:

In order to get started, I want you to download and unzip the following modules to your Modules folder:
1.Drupal Calendar Module (drupal.org/project/calendar)

2. Drupal Date Module (drupal.org/project/date)

Enable the modules after you are done with the downloads.
Click “Modules” on the top-level menu:

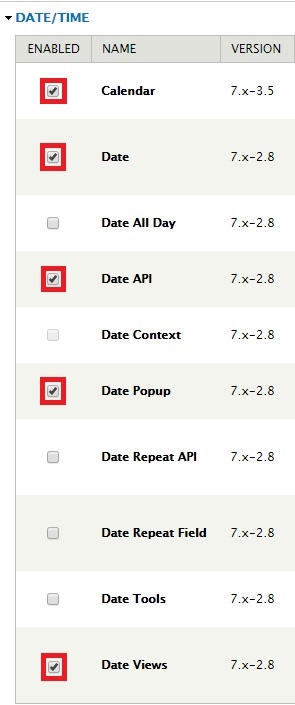
Search and enable the following modules:
- Calendar
- Date
- Date API
- Date Popup
- Date View
We assume you already have Views module downloaded and enabled.
Let’s now create a new content type to feature the events. I will be creating two events for June – World Environment Day and Father’s Day.
Click “Structure”:

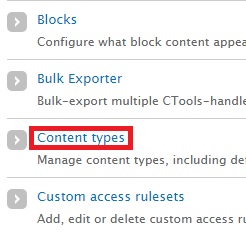
Click “Content types”:
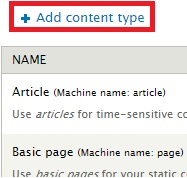
Click “Add content type”:
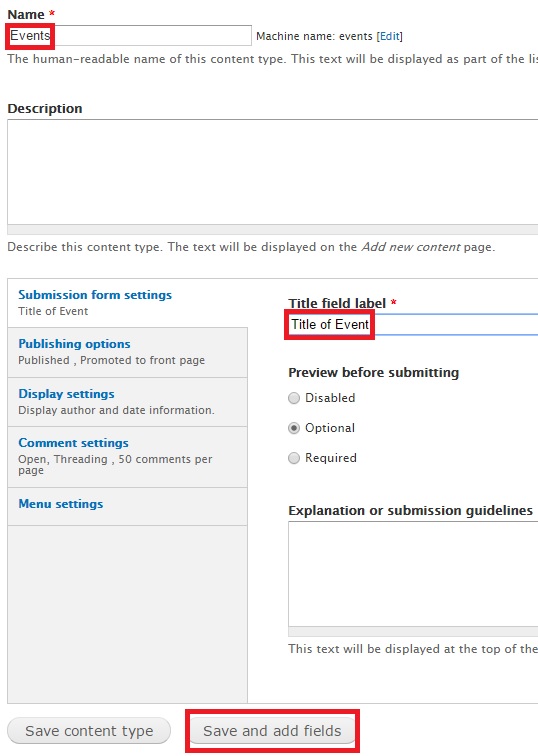
I am adding the new content type as “Events”. I have given “Title of Event” as the label. Click “Save and add fields”. View the screenshot below for more info:
Under Add new field, I have provided the value “Date of Event”. Under FIELD TYPE, I chose "Date" from the dropdrown. The WIDGET field gets automatically updated with the value “Pop-up calendar”. Click “Save”:

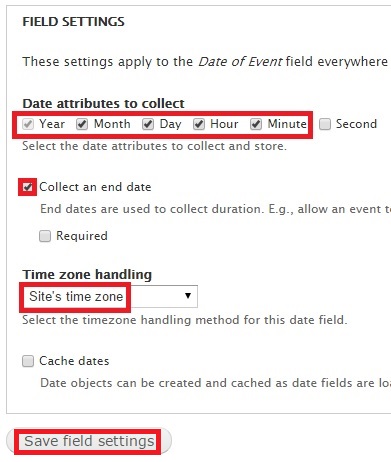
The next screen that comes up is the FIELD SETTINGS screen. Here are the important fields you will come across:
- Date attributes to collect: It lets you choose the attributes you want highlighted in the Date field. I have kept the values as default.
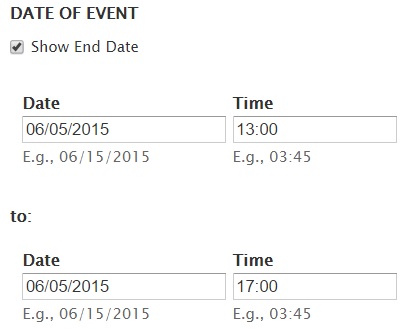
- Collect an end date: It allows you to provide an end date for an event. I ticked the box.
- Time zone handling: Provide your time zone. I have gone with the default “Site’s time zone”.
Click “Save field settings”:
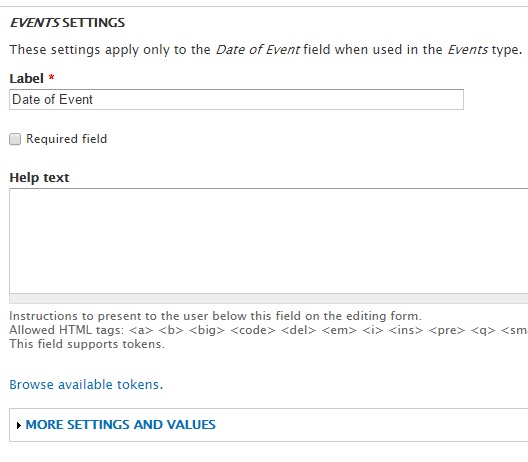
You won’t have to do anything in the new screen. Enter content for Help text if you wish to:
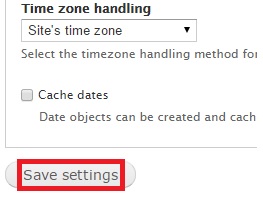
Scroll further below and click “Save settings”:
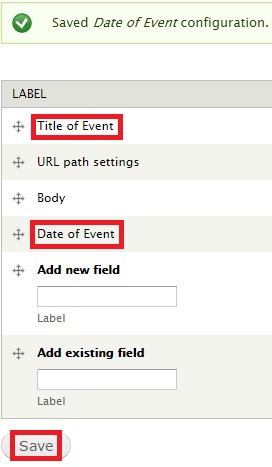
Notice the newly created “Title of Event” and “Date of Event”. Click “Save”:
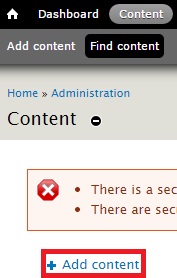
Let’s now create the Events! Click "Content" on the top-level menu:

Click “Add content”:
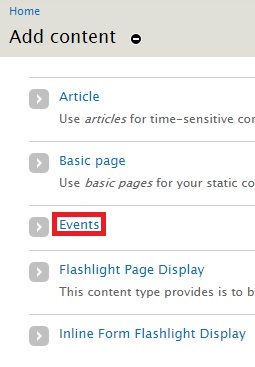
Click “Events”:
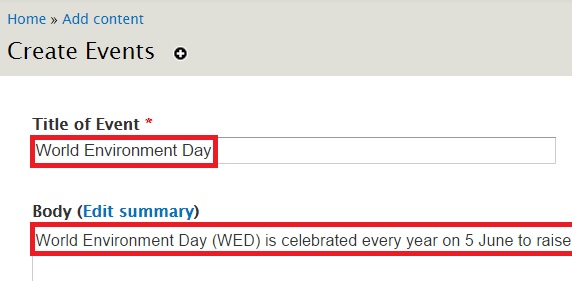
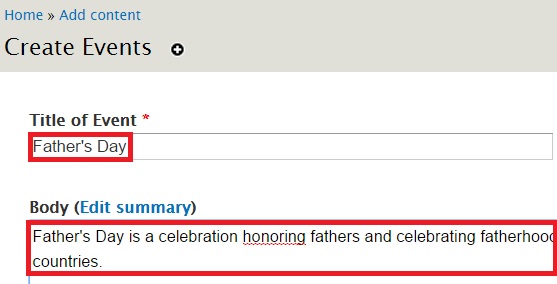
In the new page, provide the title and details about your event. I have pasted from Wikipedia for this page:
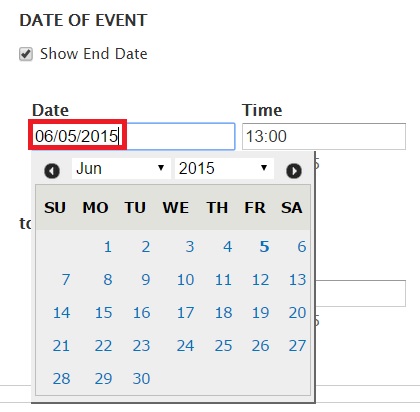
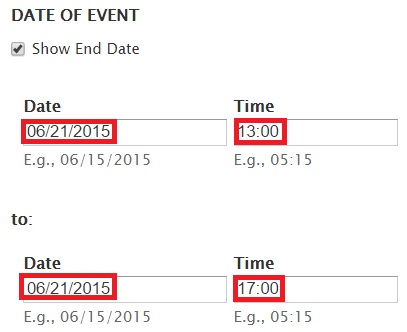
Scroll below and you will be asked to fill in the timings for the event by using a pop-up calendar:
This is how the timings for the event looks like after details have been filled:
Click “Save” at the bottom of the page:

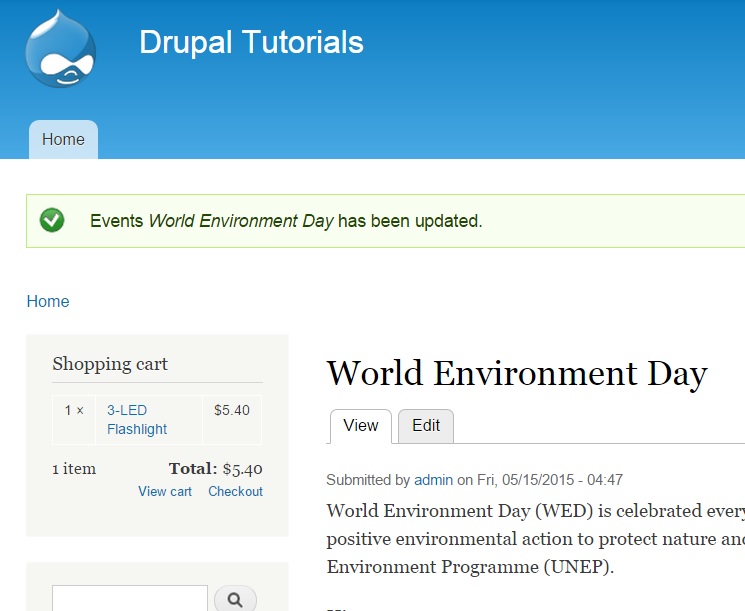
Your event for World Environment Day has been created:
Let’s create one more event:
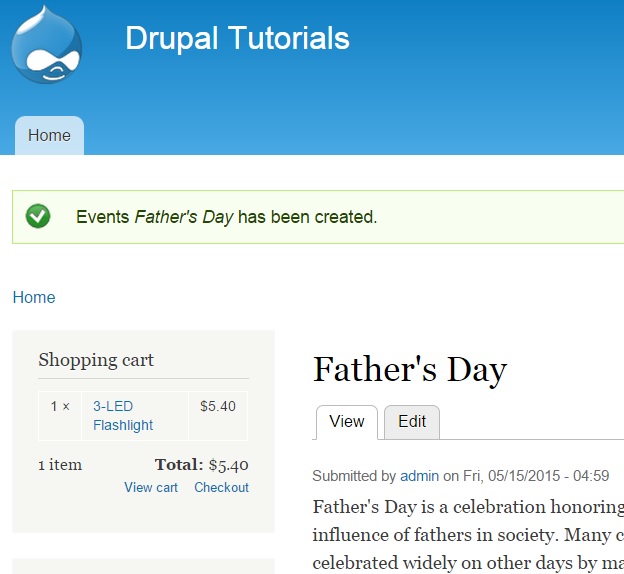
Click “Save” and the page for Father’s Day shows up:
Let’s now configure the calendar to show these events. We can do this by creating a View that highlights the calendar.
Click “Structure”:

Click “Views”:
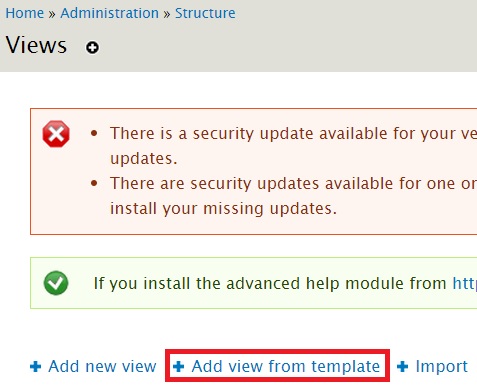
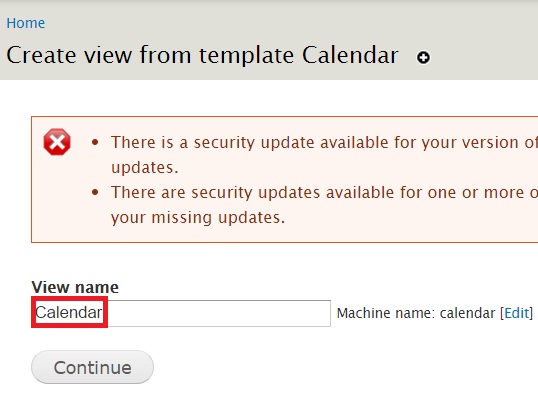
Click “Add view from template” to completely personalize your view:
You will be allowed to select a template based on a pre-configured value. In this case, Date.
In the new screen search for the newly created field created above – Date of event. Click “Add on the extreme right. Refer the screenshot below:

Click “Continue” to go to the next screen:
You will be taken to the following screen. It features basic configuration for your calendar. On the top-left, you will find several buttons – Month (default), Week, Day, Year, Block and Upcoming. Clicking them will take you to similar screens. I want you to click “Save” on the top-right:
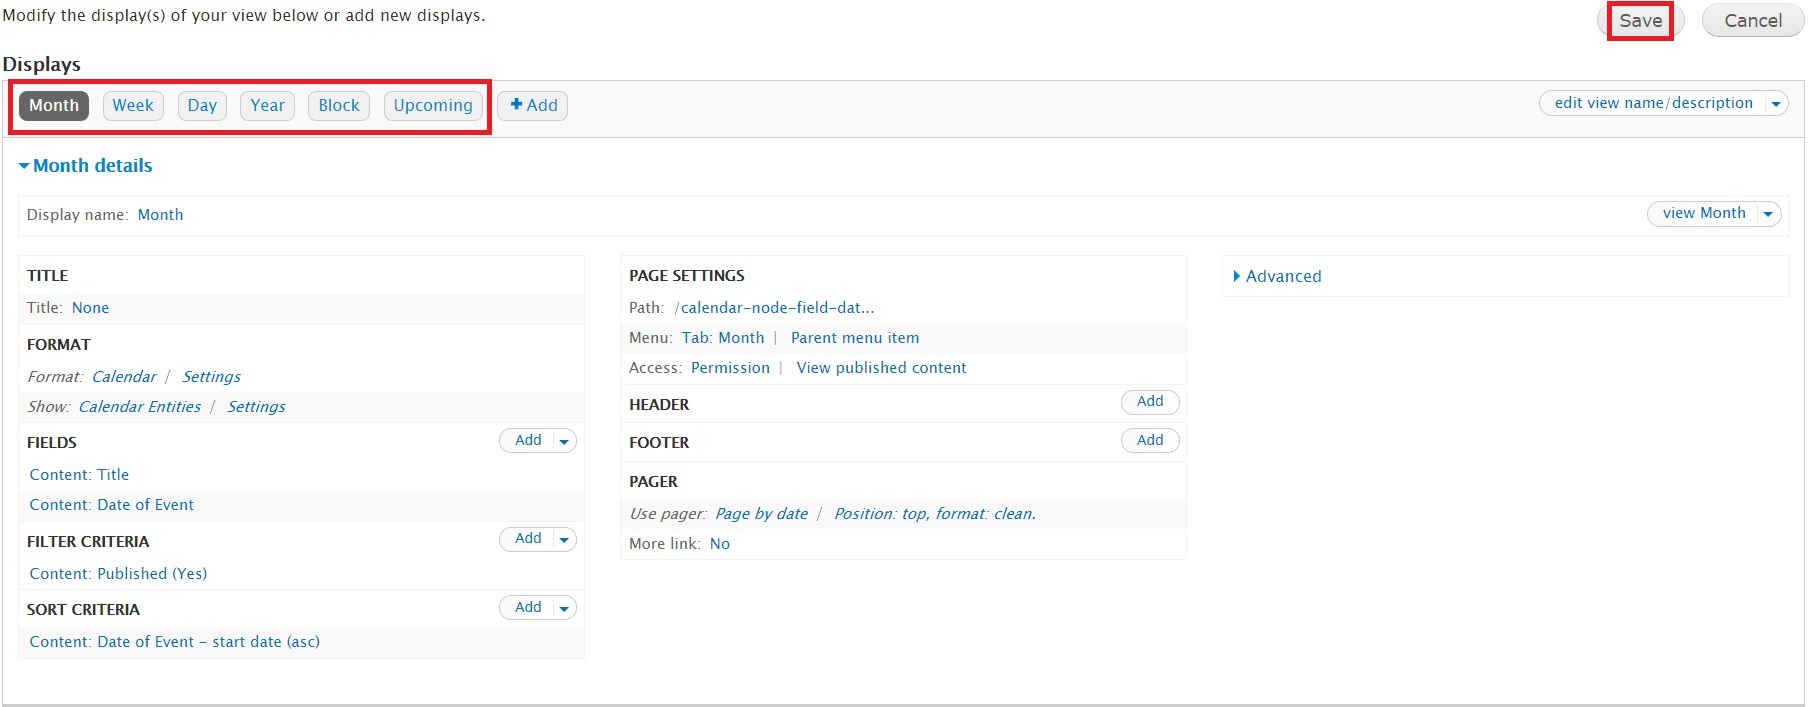
Click “View Month” as shown below:

You will now be able to see the calendar with the events featured. Clicking on any event will take you to its respective page:
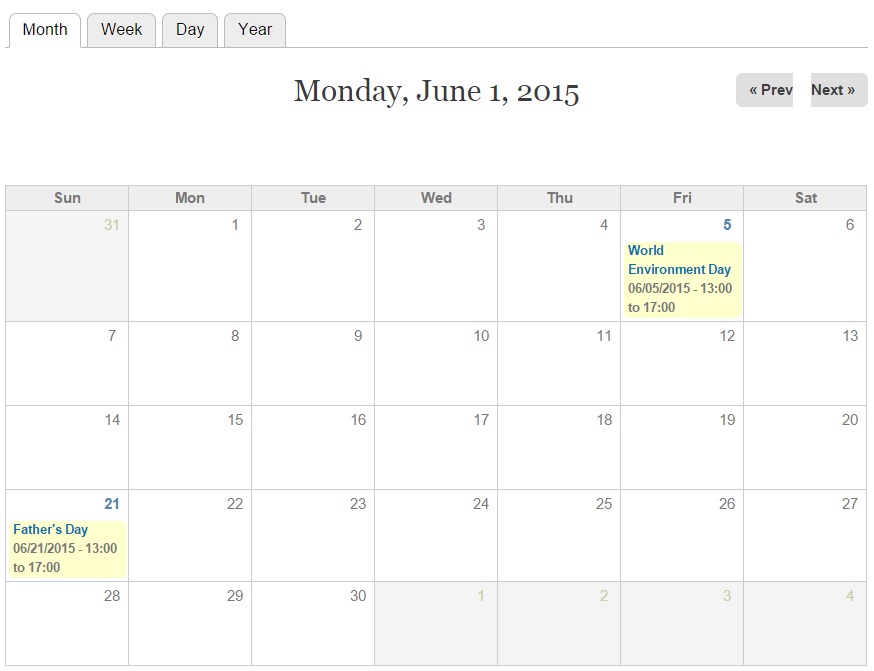
We have now completed the basic configuration to enable a Calendar view with events.