In this article you will be learning how to install Google Analytics on your WordPress website.
The only pre-requisite is that you must be signed up with Google Analytics before proceed to install it on your site.
Setting up Google Analytics
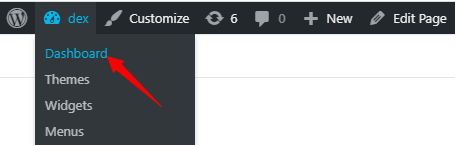
- Open the Dashboard from the top left on your website.
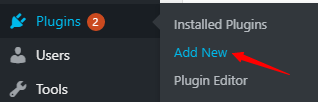
- On the left sidebar scroll down, hover above Plugins, and click on Add New.
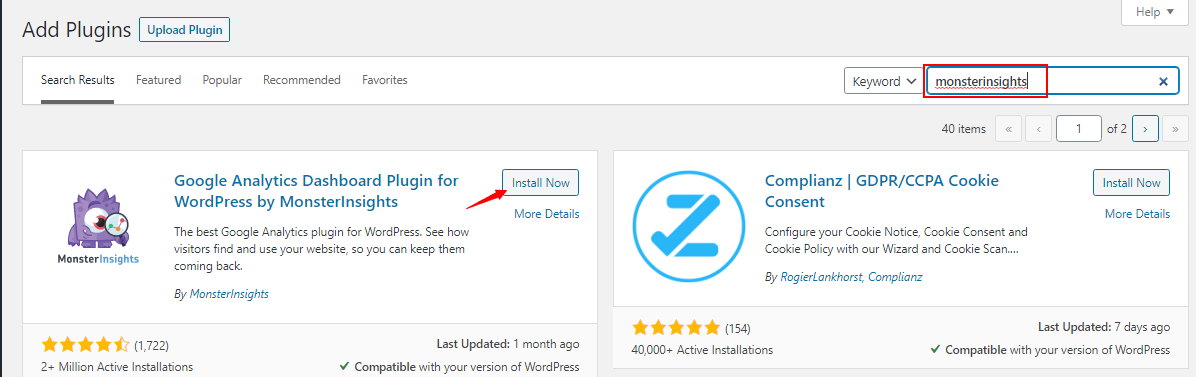
- Search for monsterinsights, and install the first result, by clicking on Install Now.
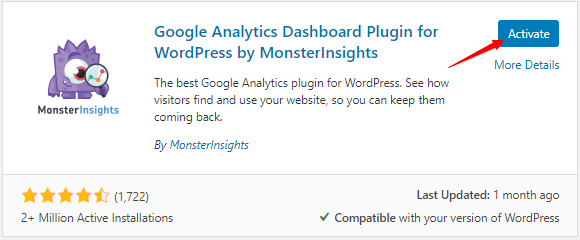
- Next, click on Activate.
- You will be taken to the setup wizard, proceed by clicking on Launch the Wizard!

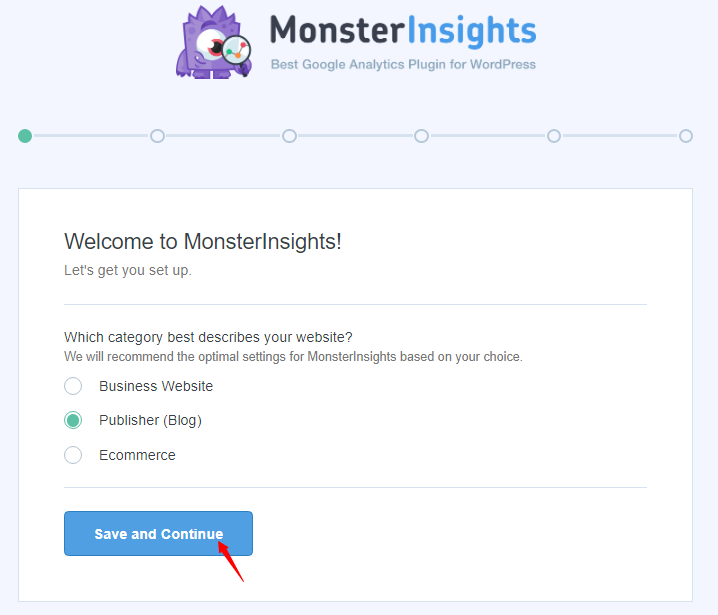
- Select the category of your WordPress site and click on Save and Continue.
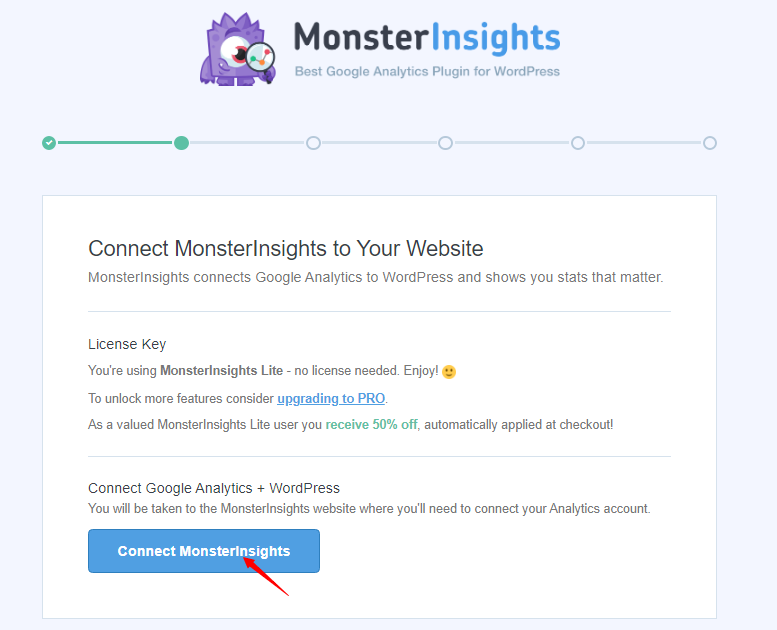
- Proceed by clicking on Connect MonsterInsights.
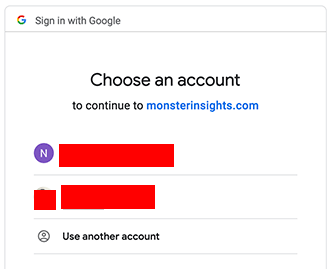
- Next, you will need to select your Google account associated with Google Analytics.
- Lastly, pick the profile you wish to track and click on Complete Connection.

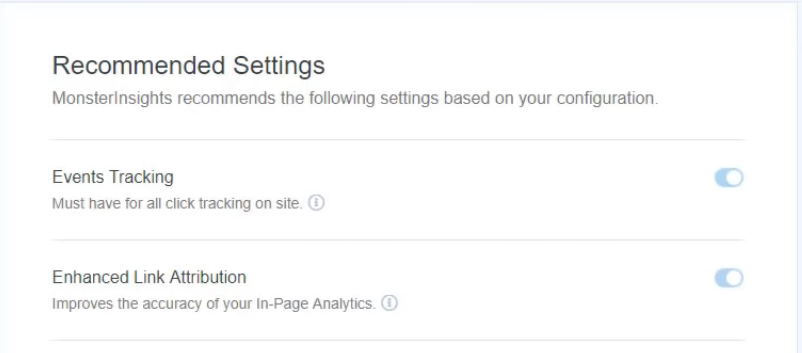
- Google Analytics will be installed and you will be directed to the Recommended Settings.
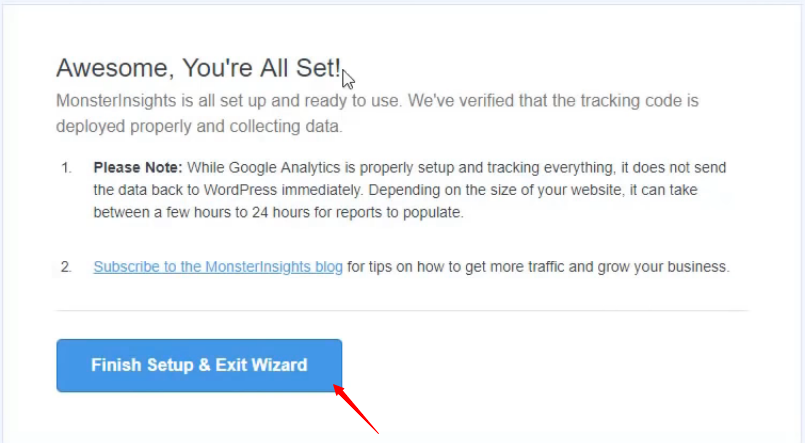
- In the end, click on Finish Setup & Exit Wizard.
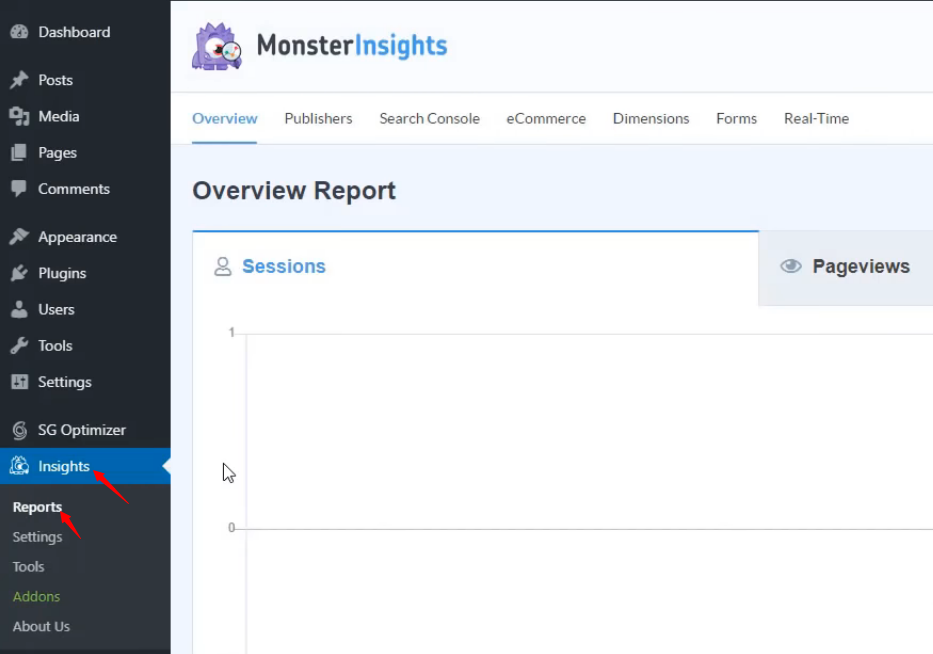
- You can access the summary of your analytical data by clicking on Reports under Insights.