Exporting your website:
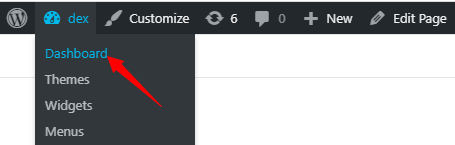
- Open the Dashboard from the top left on your website.
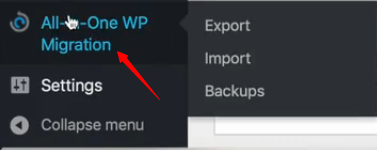
- On the left side click on All-in-One WP Migration.
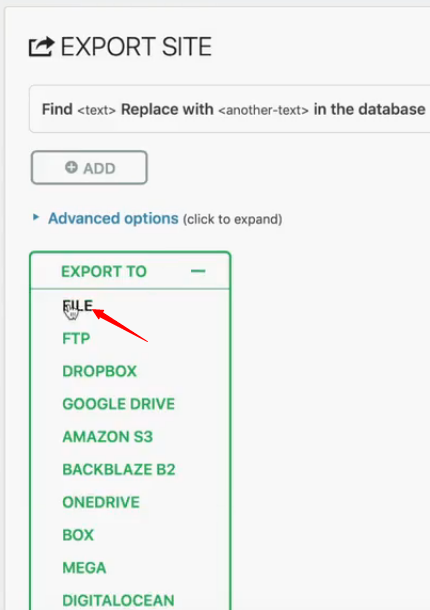
- Below Export Site, click on Export To. A drop-down list will appear. Next click on File. The other export options require a payment.
- Now you can click on the download button to download your file.

Importing your website:
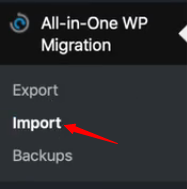
- Hover your cursor above All-in-One WP Migration and click on Import.
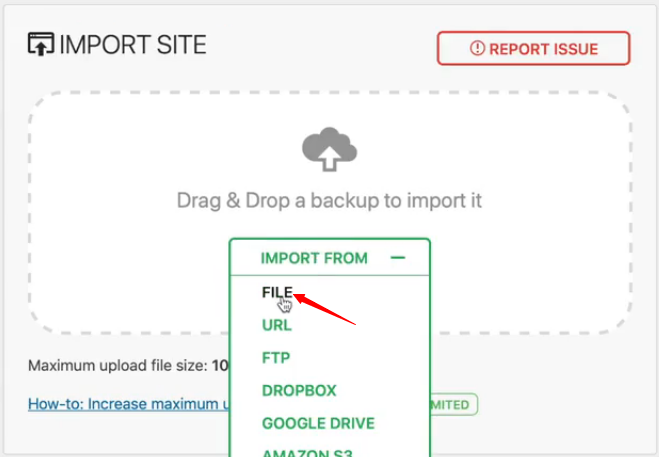
- Next click on Import From, and then click on File. Windows explorer will open up. Locate and open the file that you previously saved.
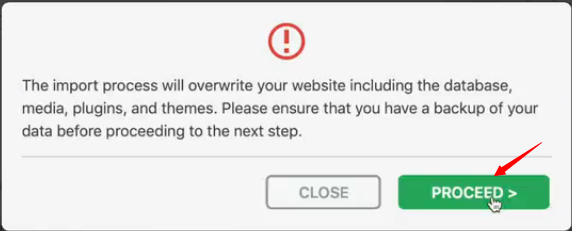
- After the file opens, you will be prompted by a message. Click on Proceed.
- That’s it you’re done. The website has been imported successfully.
Creating Backup of your website:
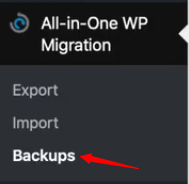
- Hover the cursor above All-in-One WP Migration and click on Backups.
- Next click on Create Backup. This creates a backup on the server itself, which you can also download.
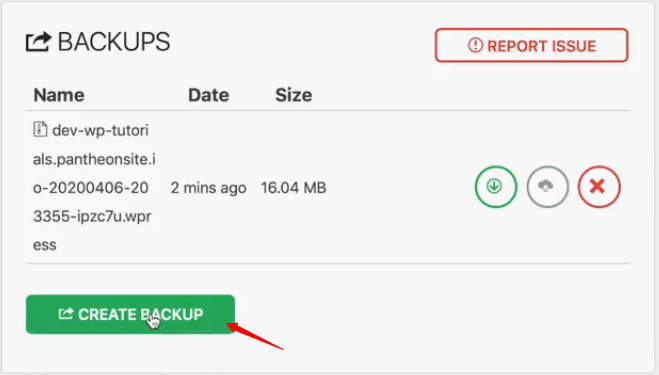
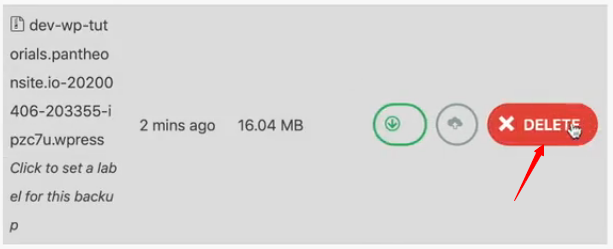
- You can download the backup by clicking on Download.

- You can also delete the backup by clicking on Delete.