This is tutorial #10 in the Drupal Commerce tutorial series. In the previous article, we showed you how to configure PayPal for your site.
In this article, we will show you how to add taxes such as Value Added Tax (VAT) to the billed amount.
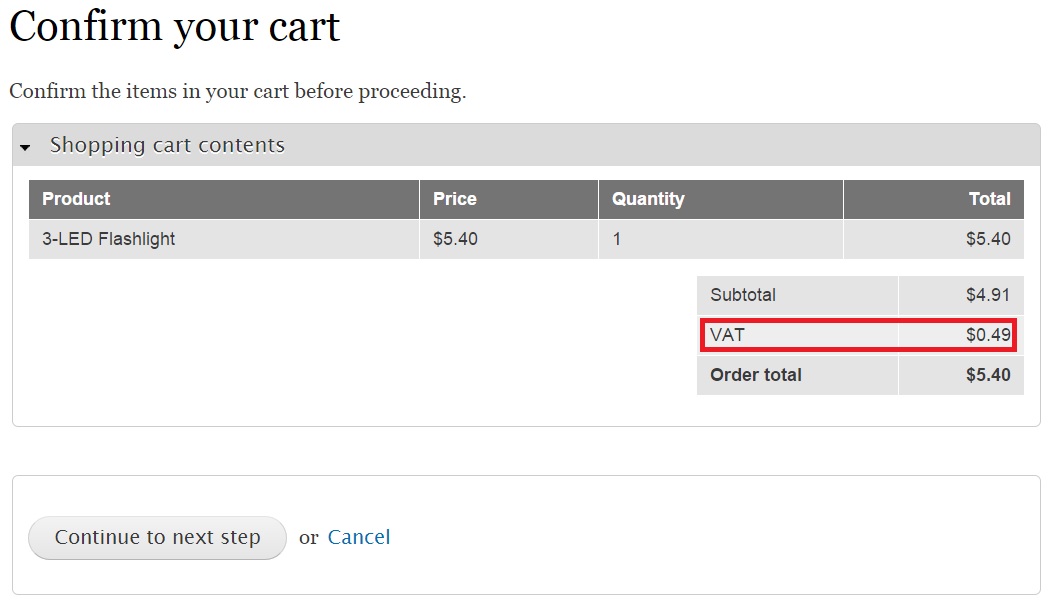
A Value-added Tax (VAT) is a form of tax levied on consumers based on a product's price. VAT collected by companies is usually sent to the government. By the time you are done with this article, you will be able to see a new field “VAT” in the bill as shown below:

You don’t have to install any new module to activate VAT charges in your bill. Drupal already comes with in-built features to help you configure tax amounts in your bill. Let’s get started!
Click “Store” on the top-level menu:

In the new page, click “Configuration”:
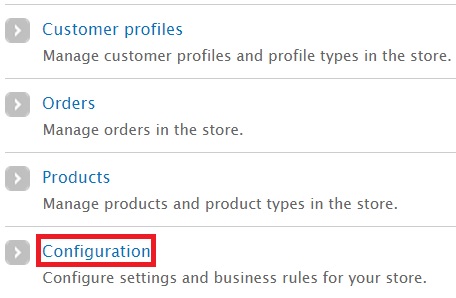
In the new page, click “Taxes”
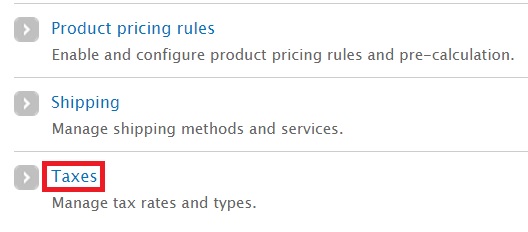
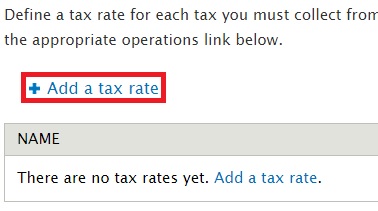
In the new page, click “Add a tax rate”:
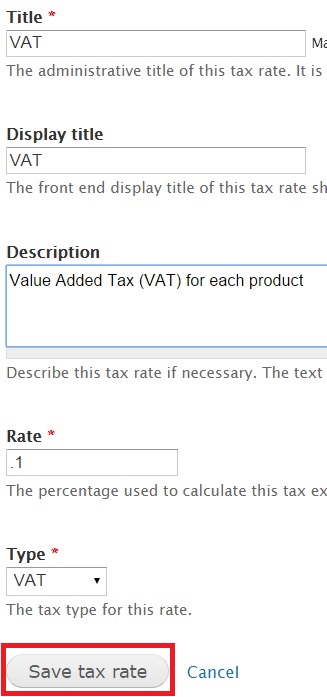
You will be able to provide a name for the tax and the percentage you wish to allocate for it over the total billed amount. Here are the fields you will have to fill in:
- Title: The name you wish to give for the tax. I have named it VAT.
- Display title: The text you want displayed to represent the tax.
- Description: You can provide an explanation for the tax here.
- Rate: What’s the tax percentage? You will have to provide the value in decimal format. I wanted to impose a tax of 10%. So I typed in .1. If you wish to introduce a VAT tax of 5%, then you will have to type in .05.
- Type: Drupal comes with two default tax types – Sales Tax and VAT. I have chosen VAT from the dropdown.
Click “Save tax rate” to create the new tax. Refer the screenshot below:
The new VAT tax is now saved:
Let’s now configure a product to include the tax. This ensures that VAT tax is implemented during purchases for that product.
Click “Store” on the top-level menu:

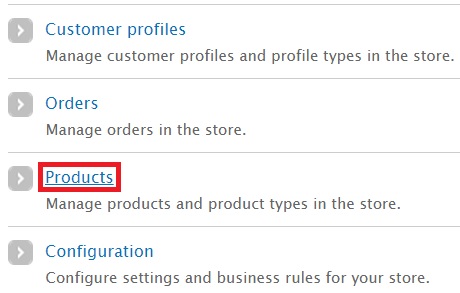
In the new page, click “Products”:
In my case, the products created by me earlier are displayed. I am going to edit the product “3-LED Flashlight” with SKU “RC-Prod-0001”. Click “Edit”:

I am now taken to a new page where the product’s details can be edited. Select “Including VAT” from the dropdown titled “Include tax in this price”:
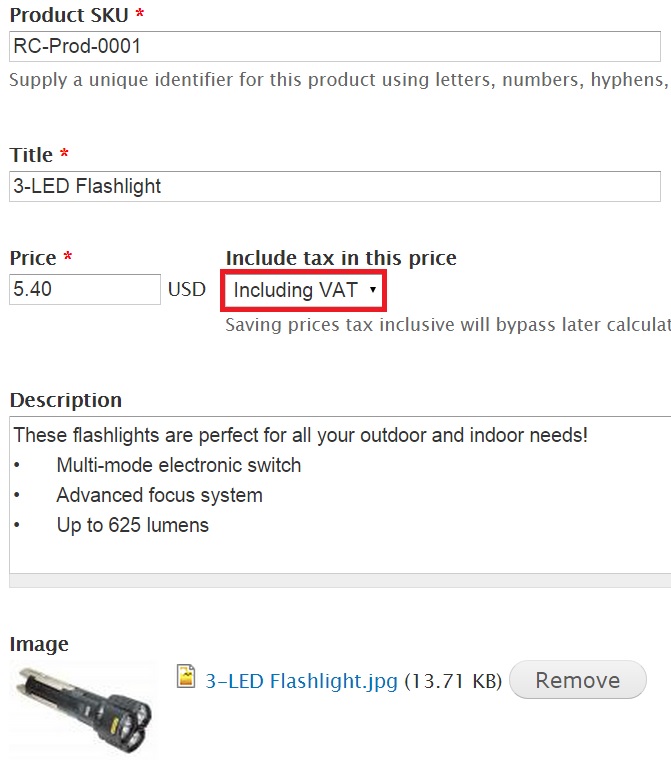
Click “Save Product” at the bottom of the page.
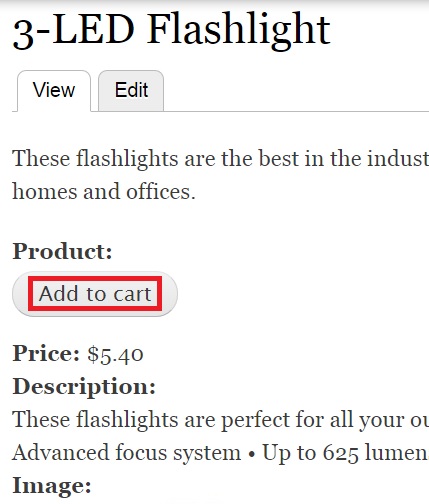
Let’s now go and place an order for this product. Click “Add to cart”:
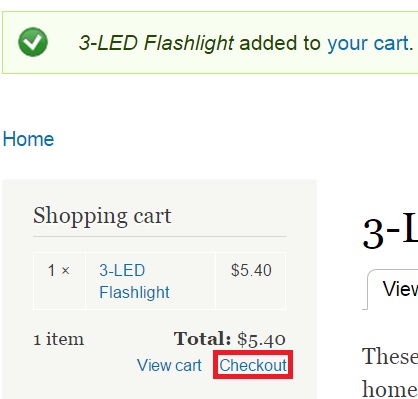
The product has now been added to your cart. Click “Checkout”:
You will notice that the VAT amount has been added to the Confirm your cart screen. The total order amount will reflect this taxed amount:
You have now learnt the basic steps involved in adding a tax amount to your bill. You can configure any tax (including Sales Tax) of your choice by following the steps featured in this article.